The people living here are stranded, in a world without a stable source of power, and will use whatever means to keep the electricity on.
They’re limited in what resources they can find, so they need many diverse machines to extract power from local resources.
Project paper / sketches related to this project
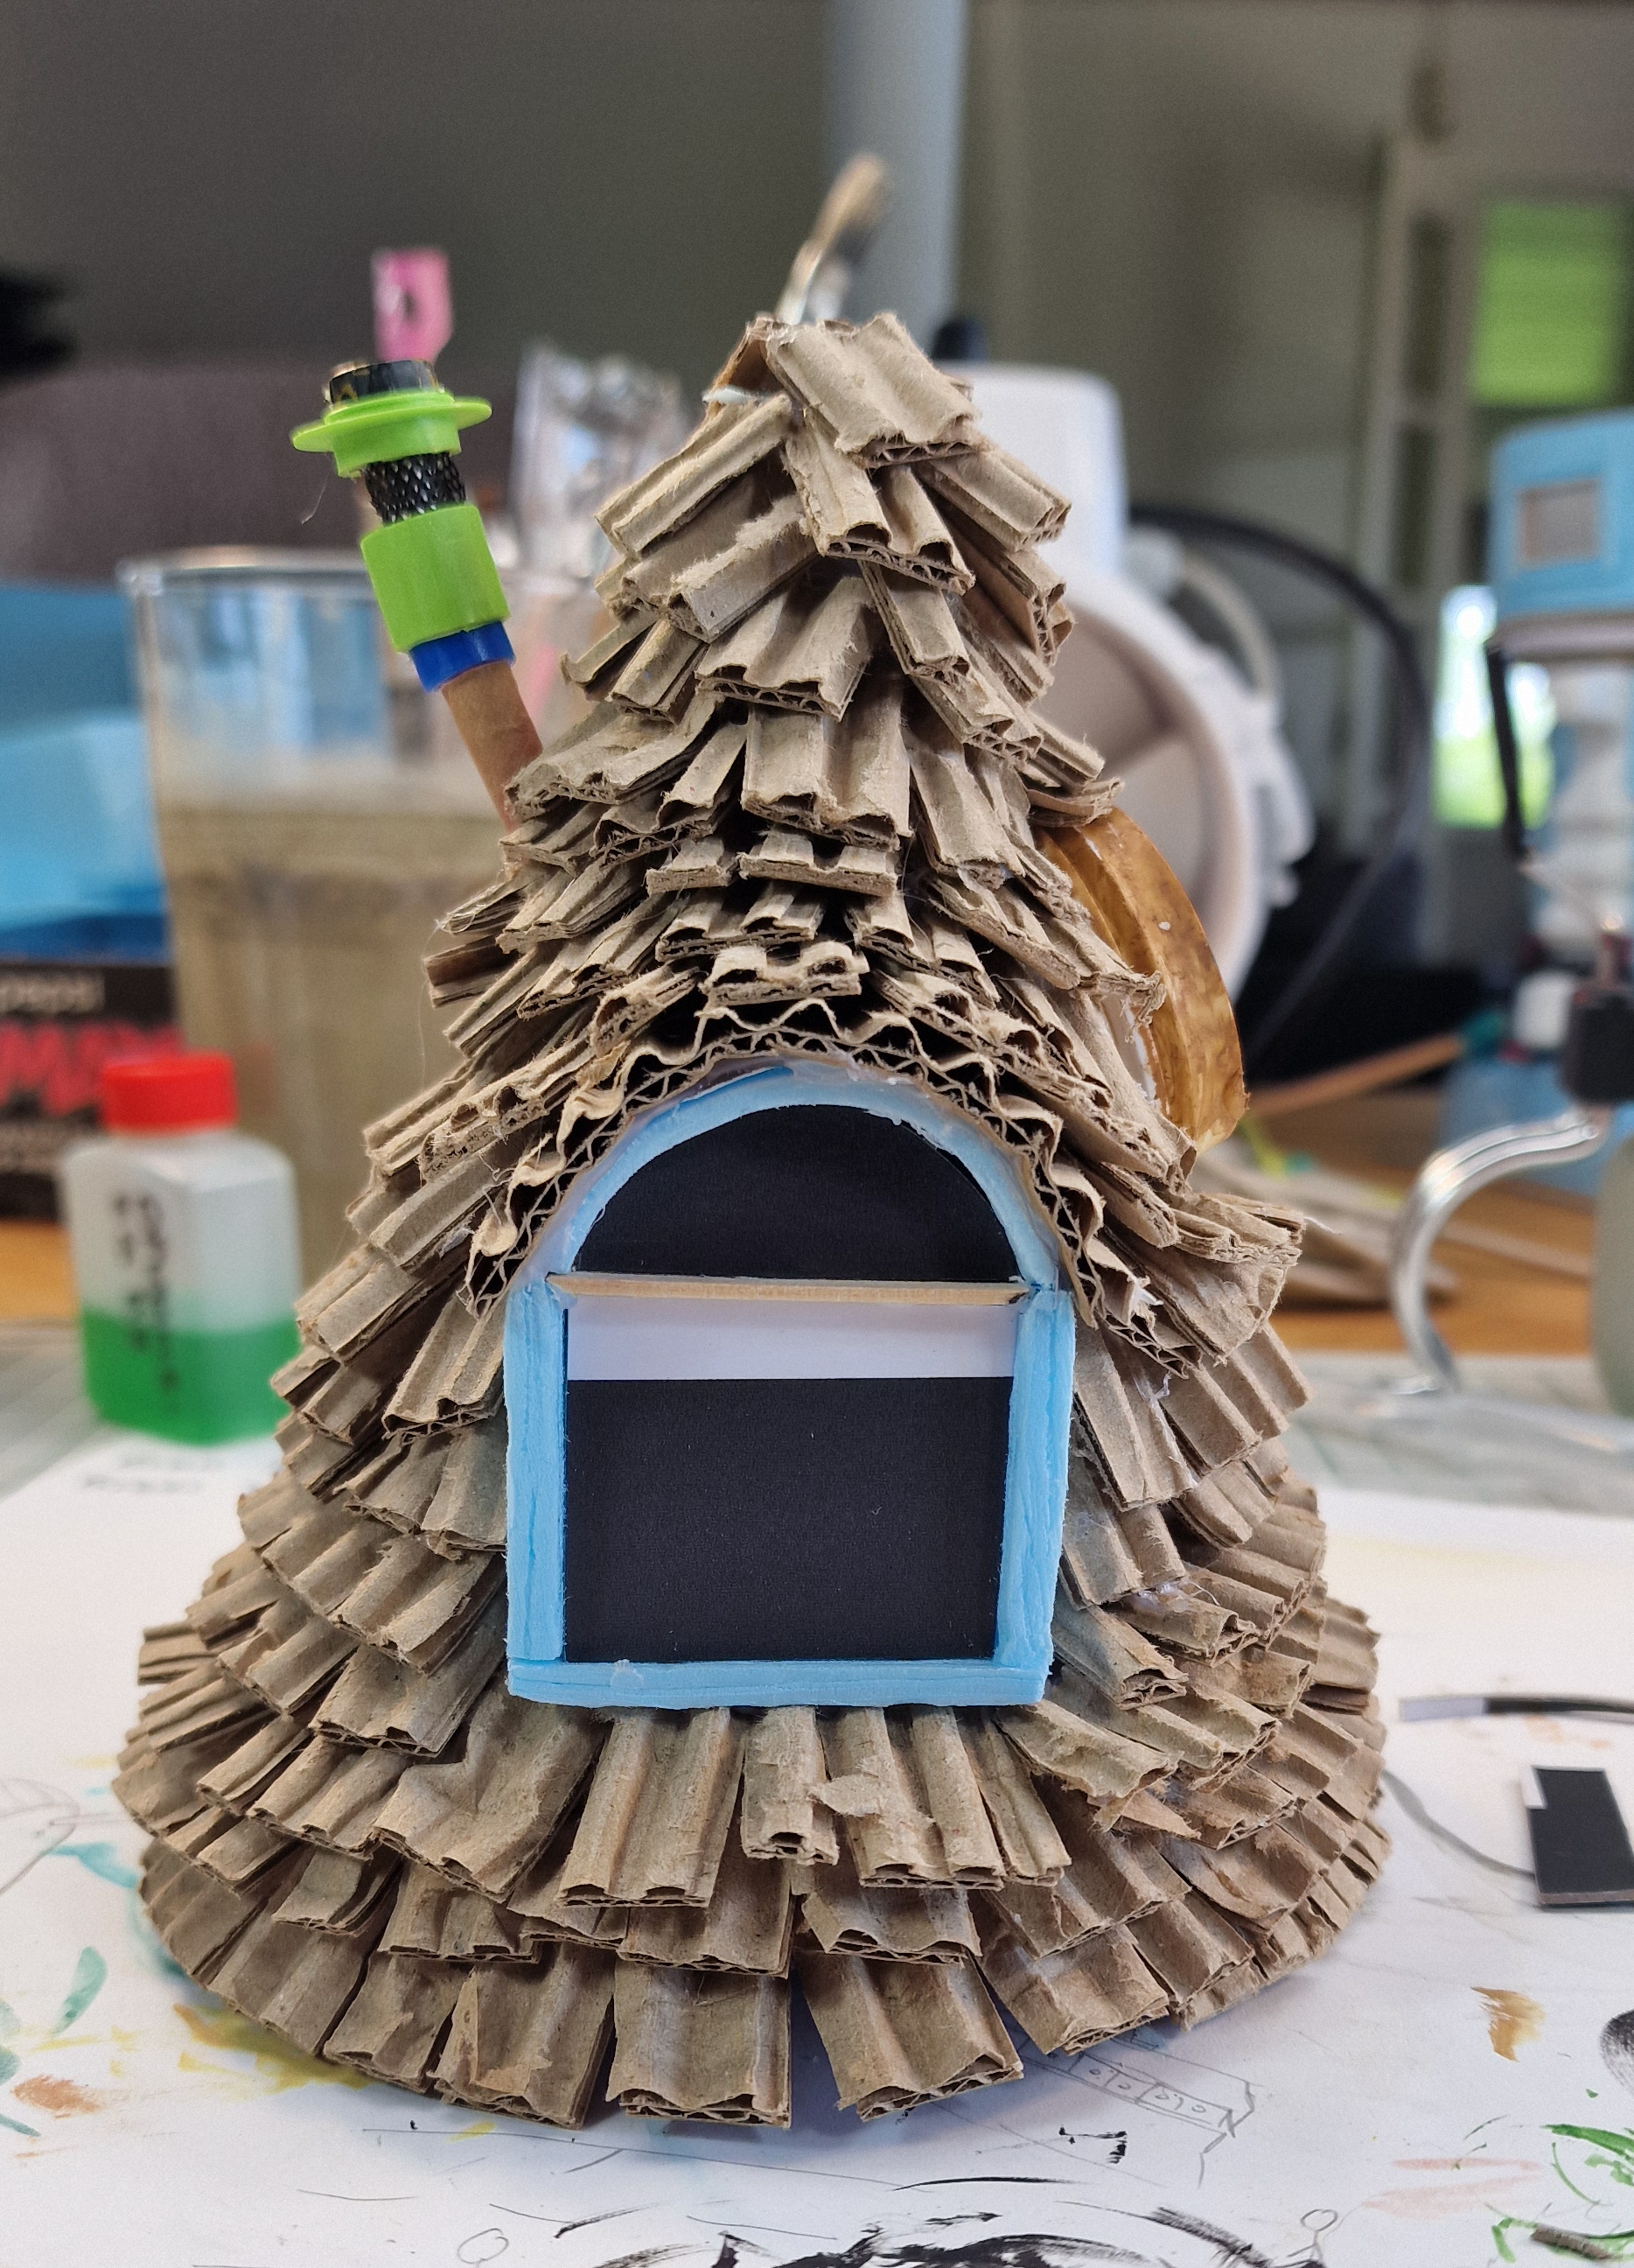
Plastic drinking straws wrapped in brown painters tape, works wonderfully as paper/cardboard tube.
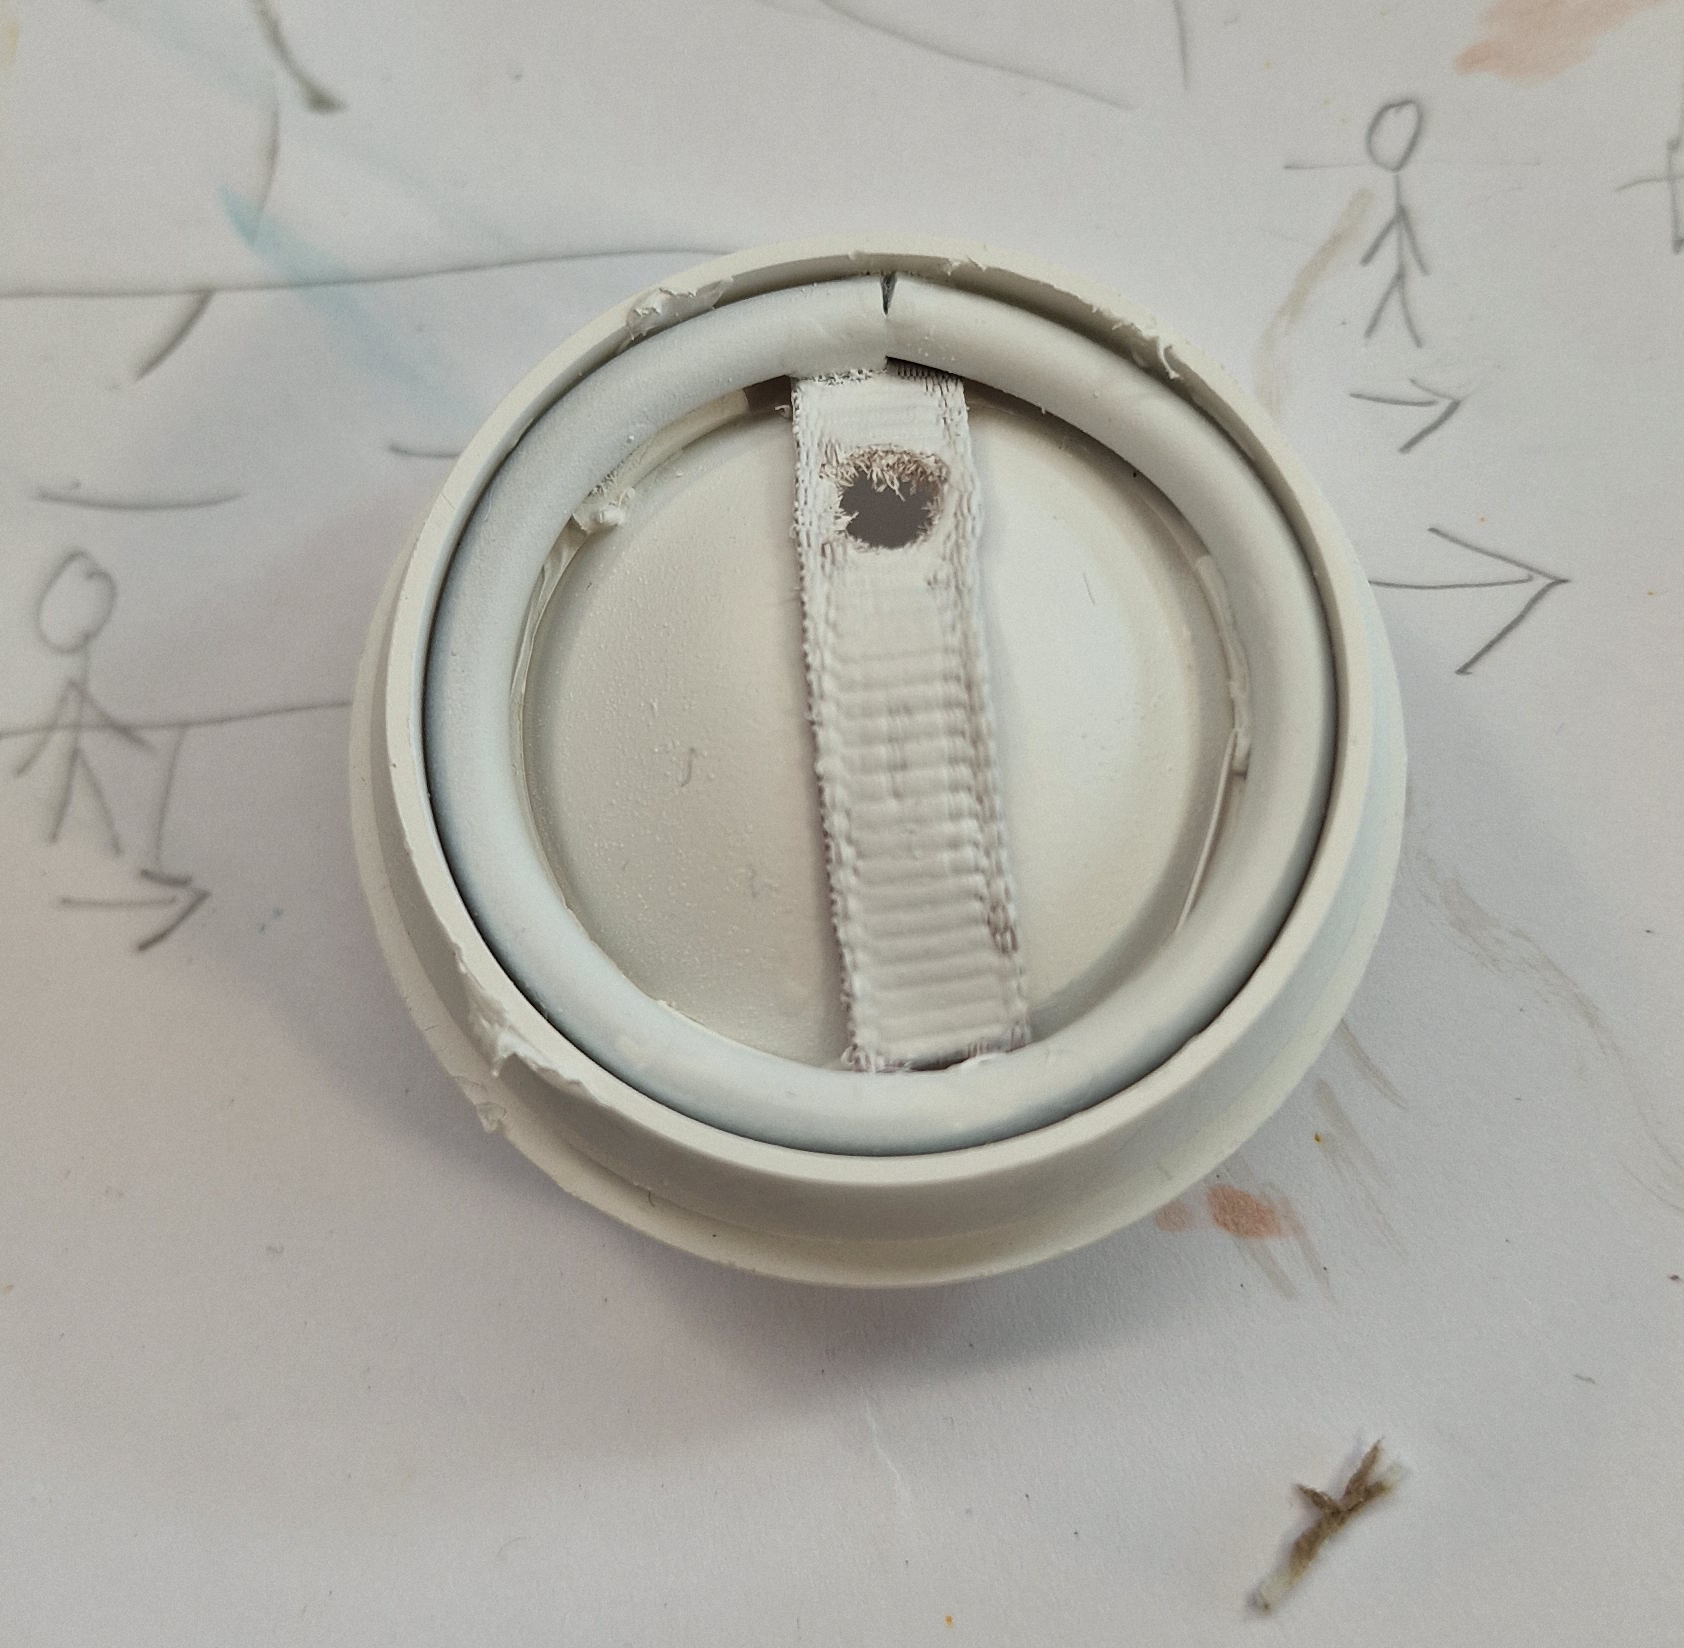
I wanted the door to be able to open, but didn’t really have any hinges.
So I dug though my box with Lego, and found these caterpillar treads
The result looks and feels pretty damn smooth. Well, at least in real life.
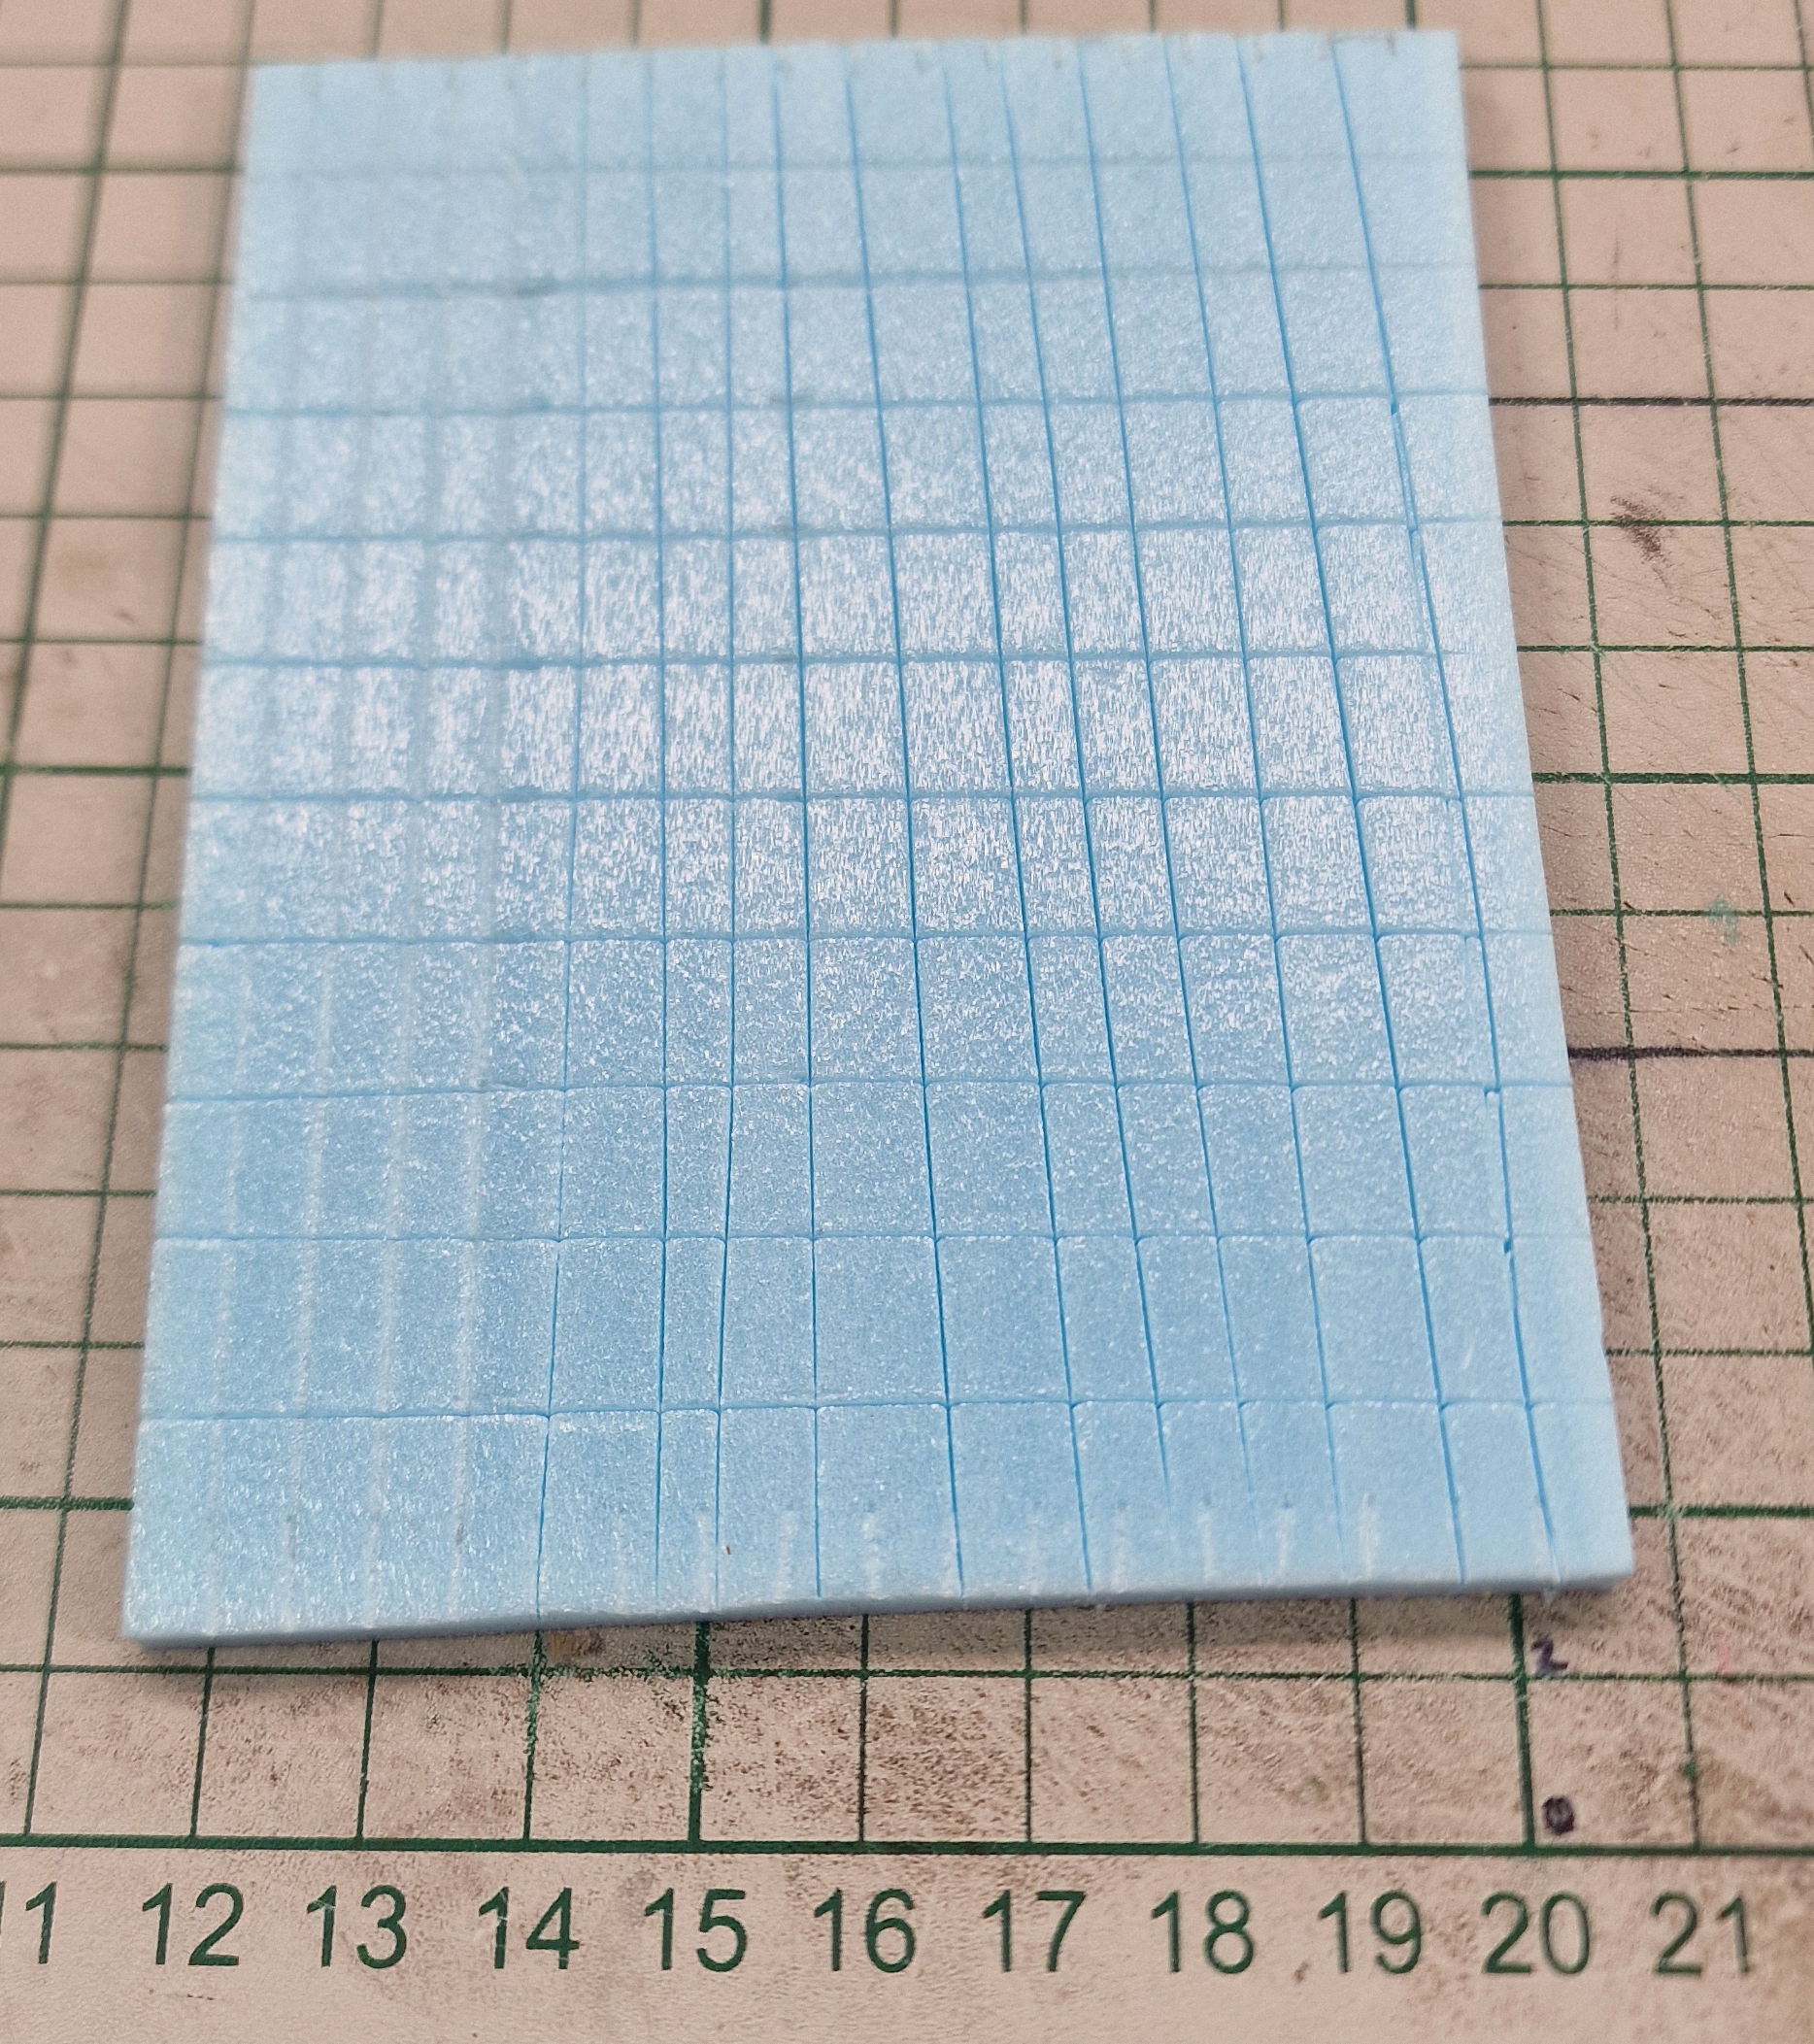
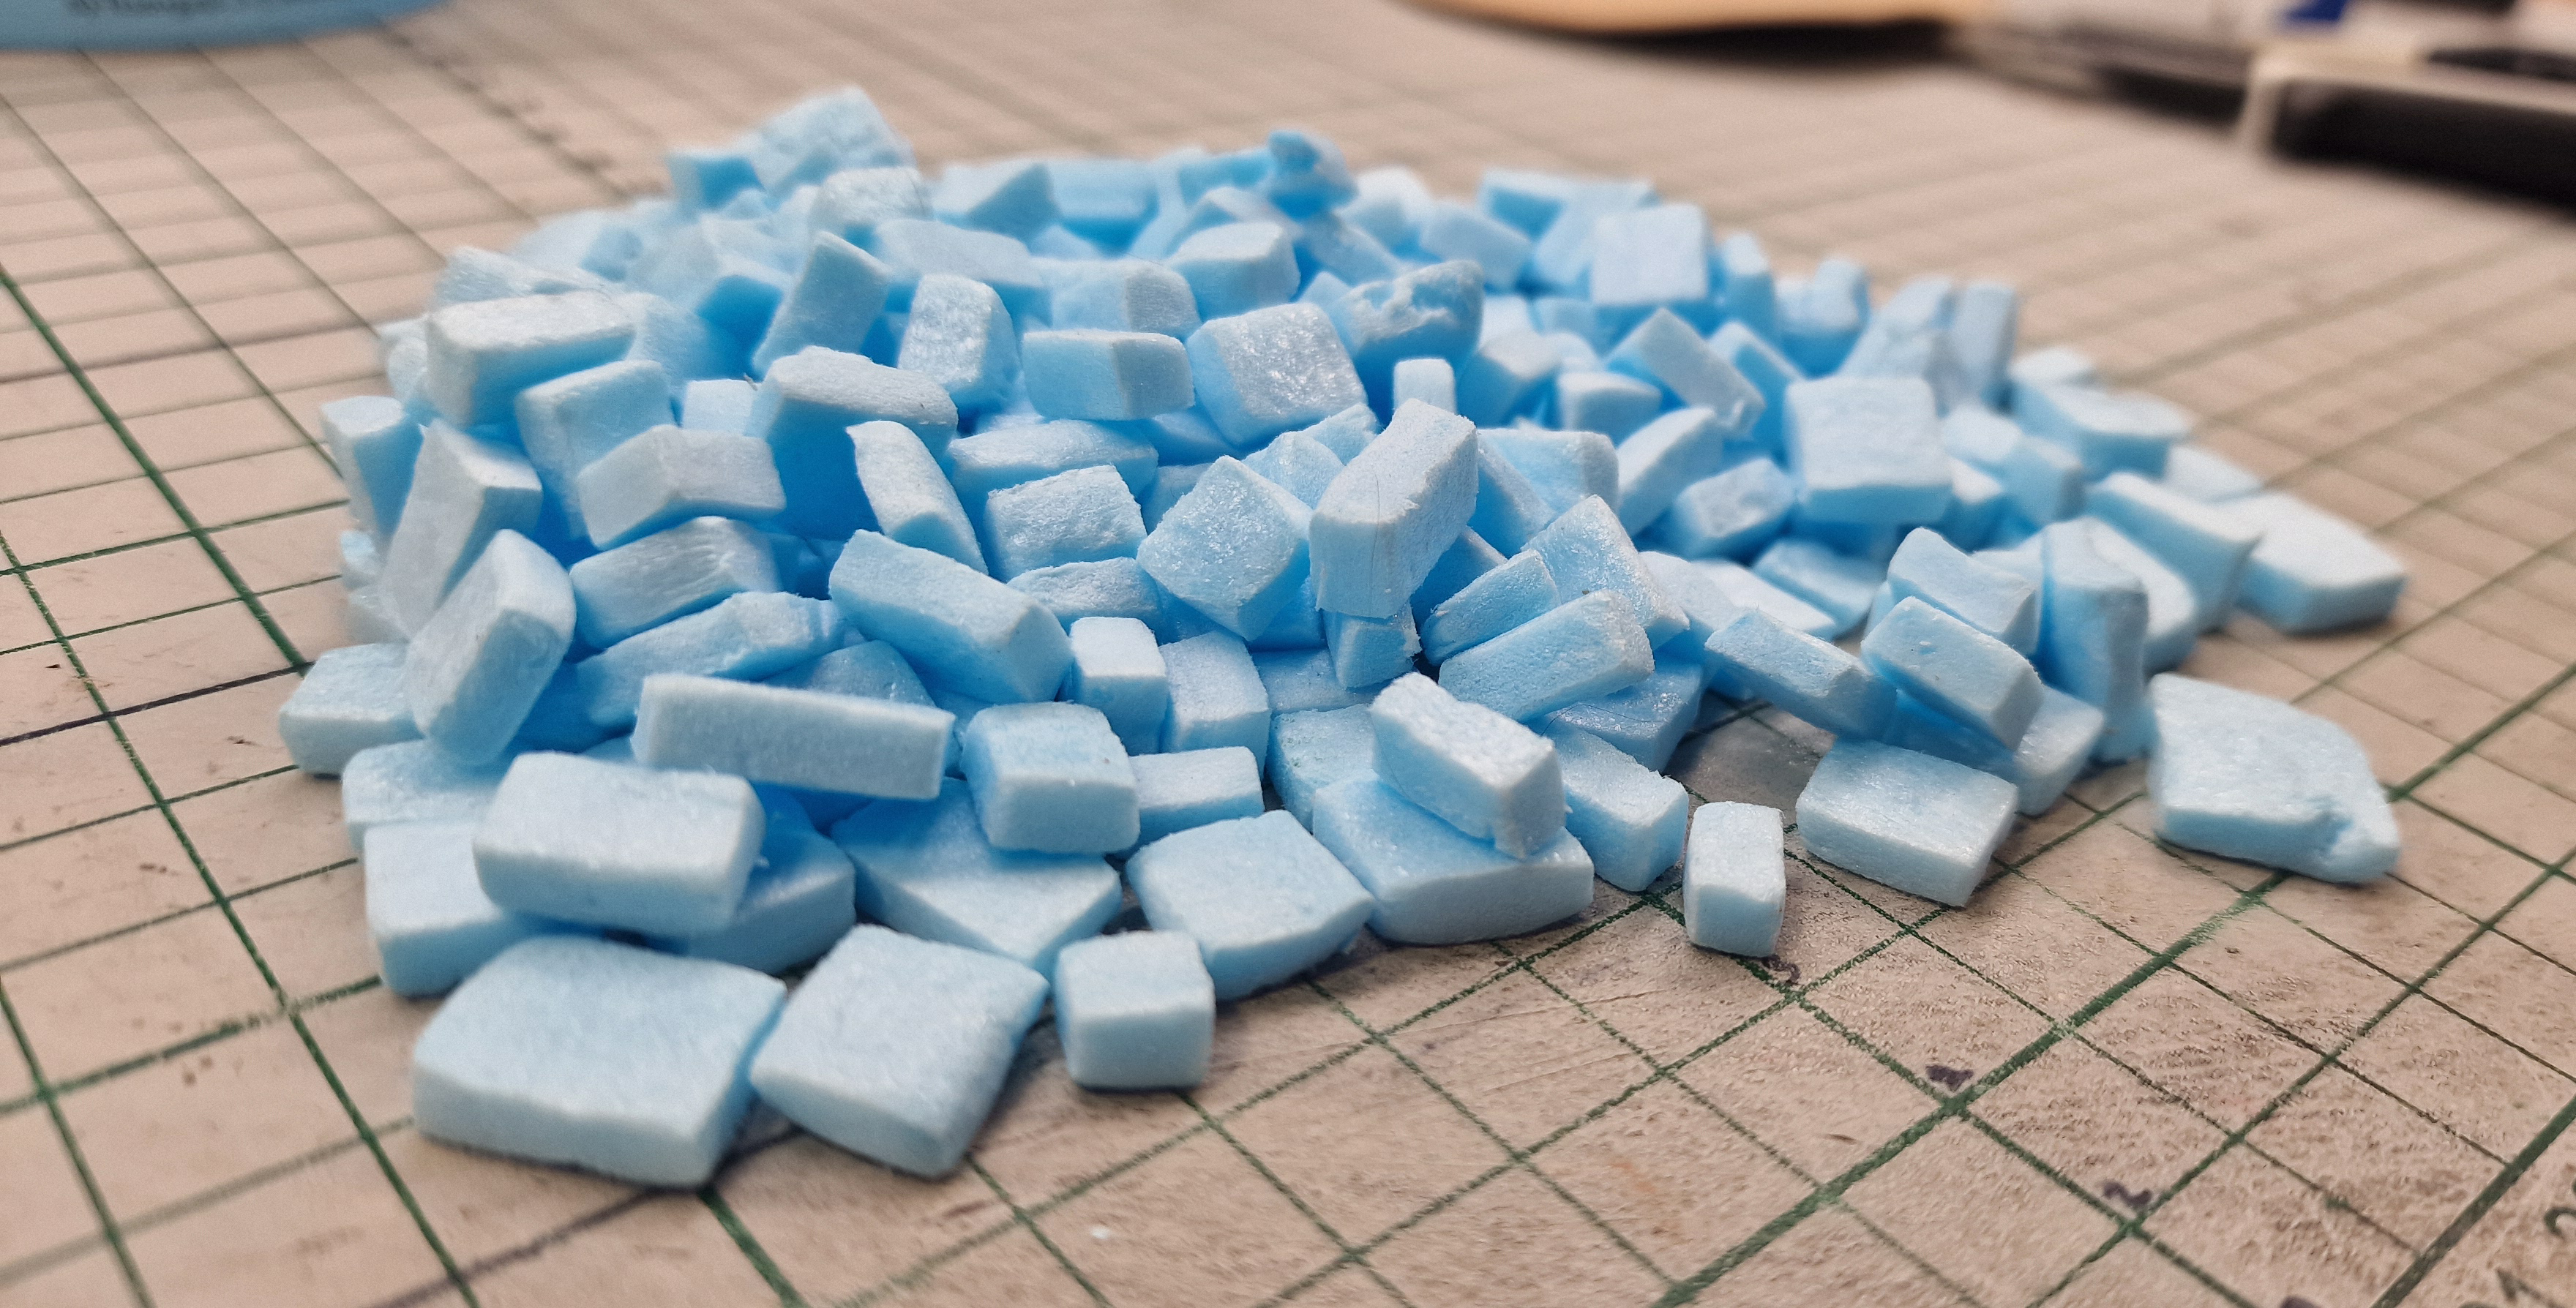
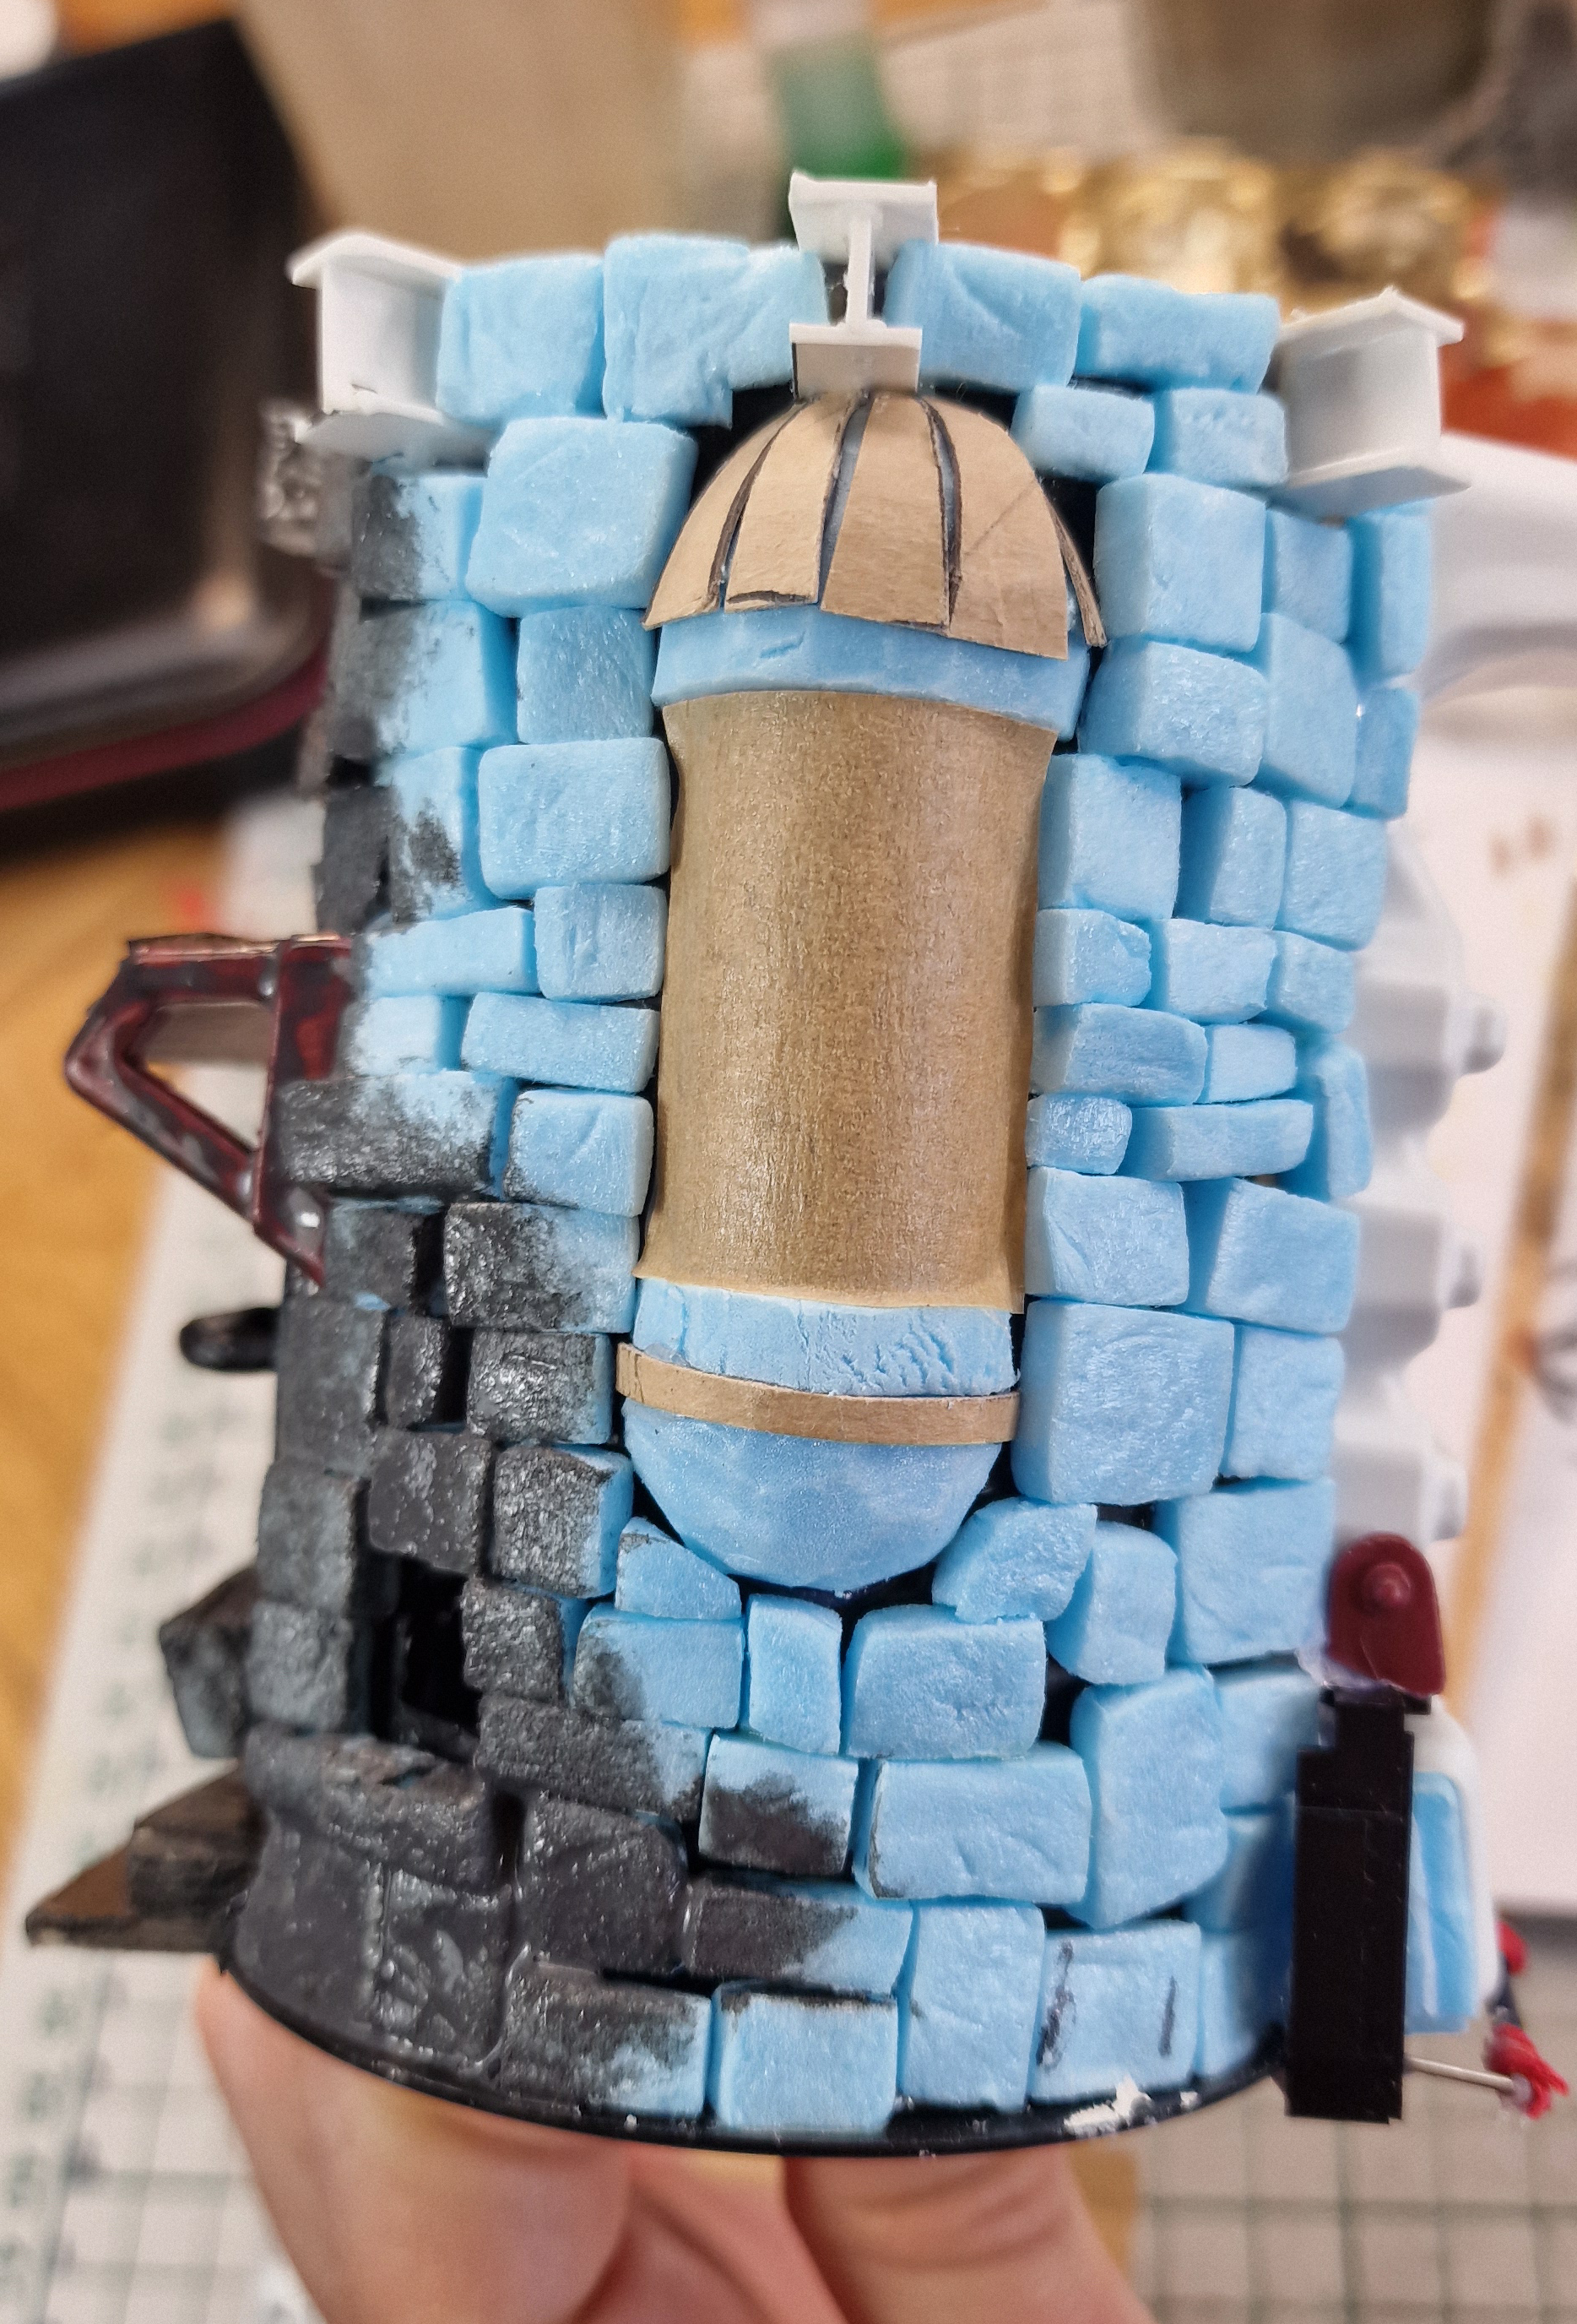
The lower section of the tower will be covered in bricks, cut from XPS.
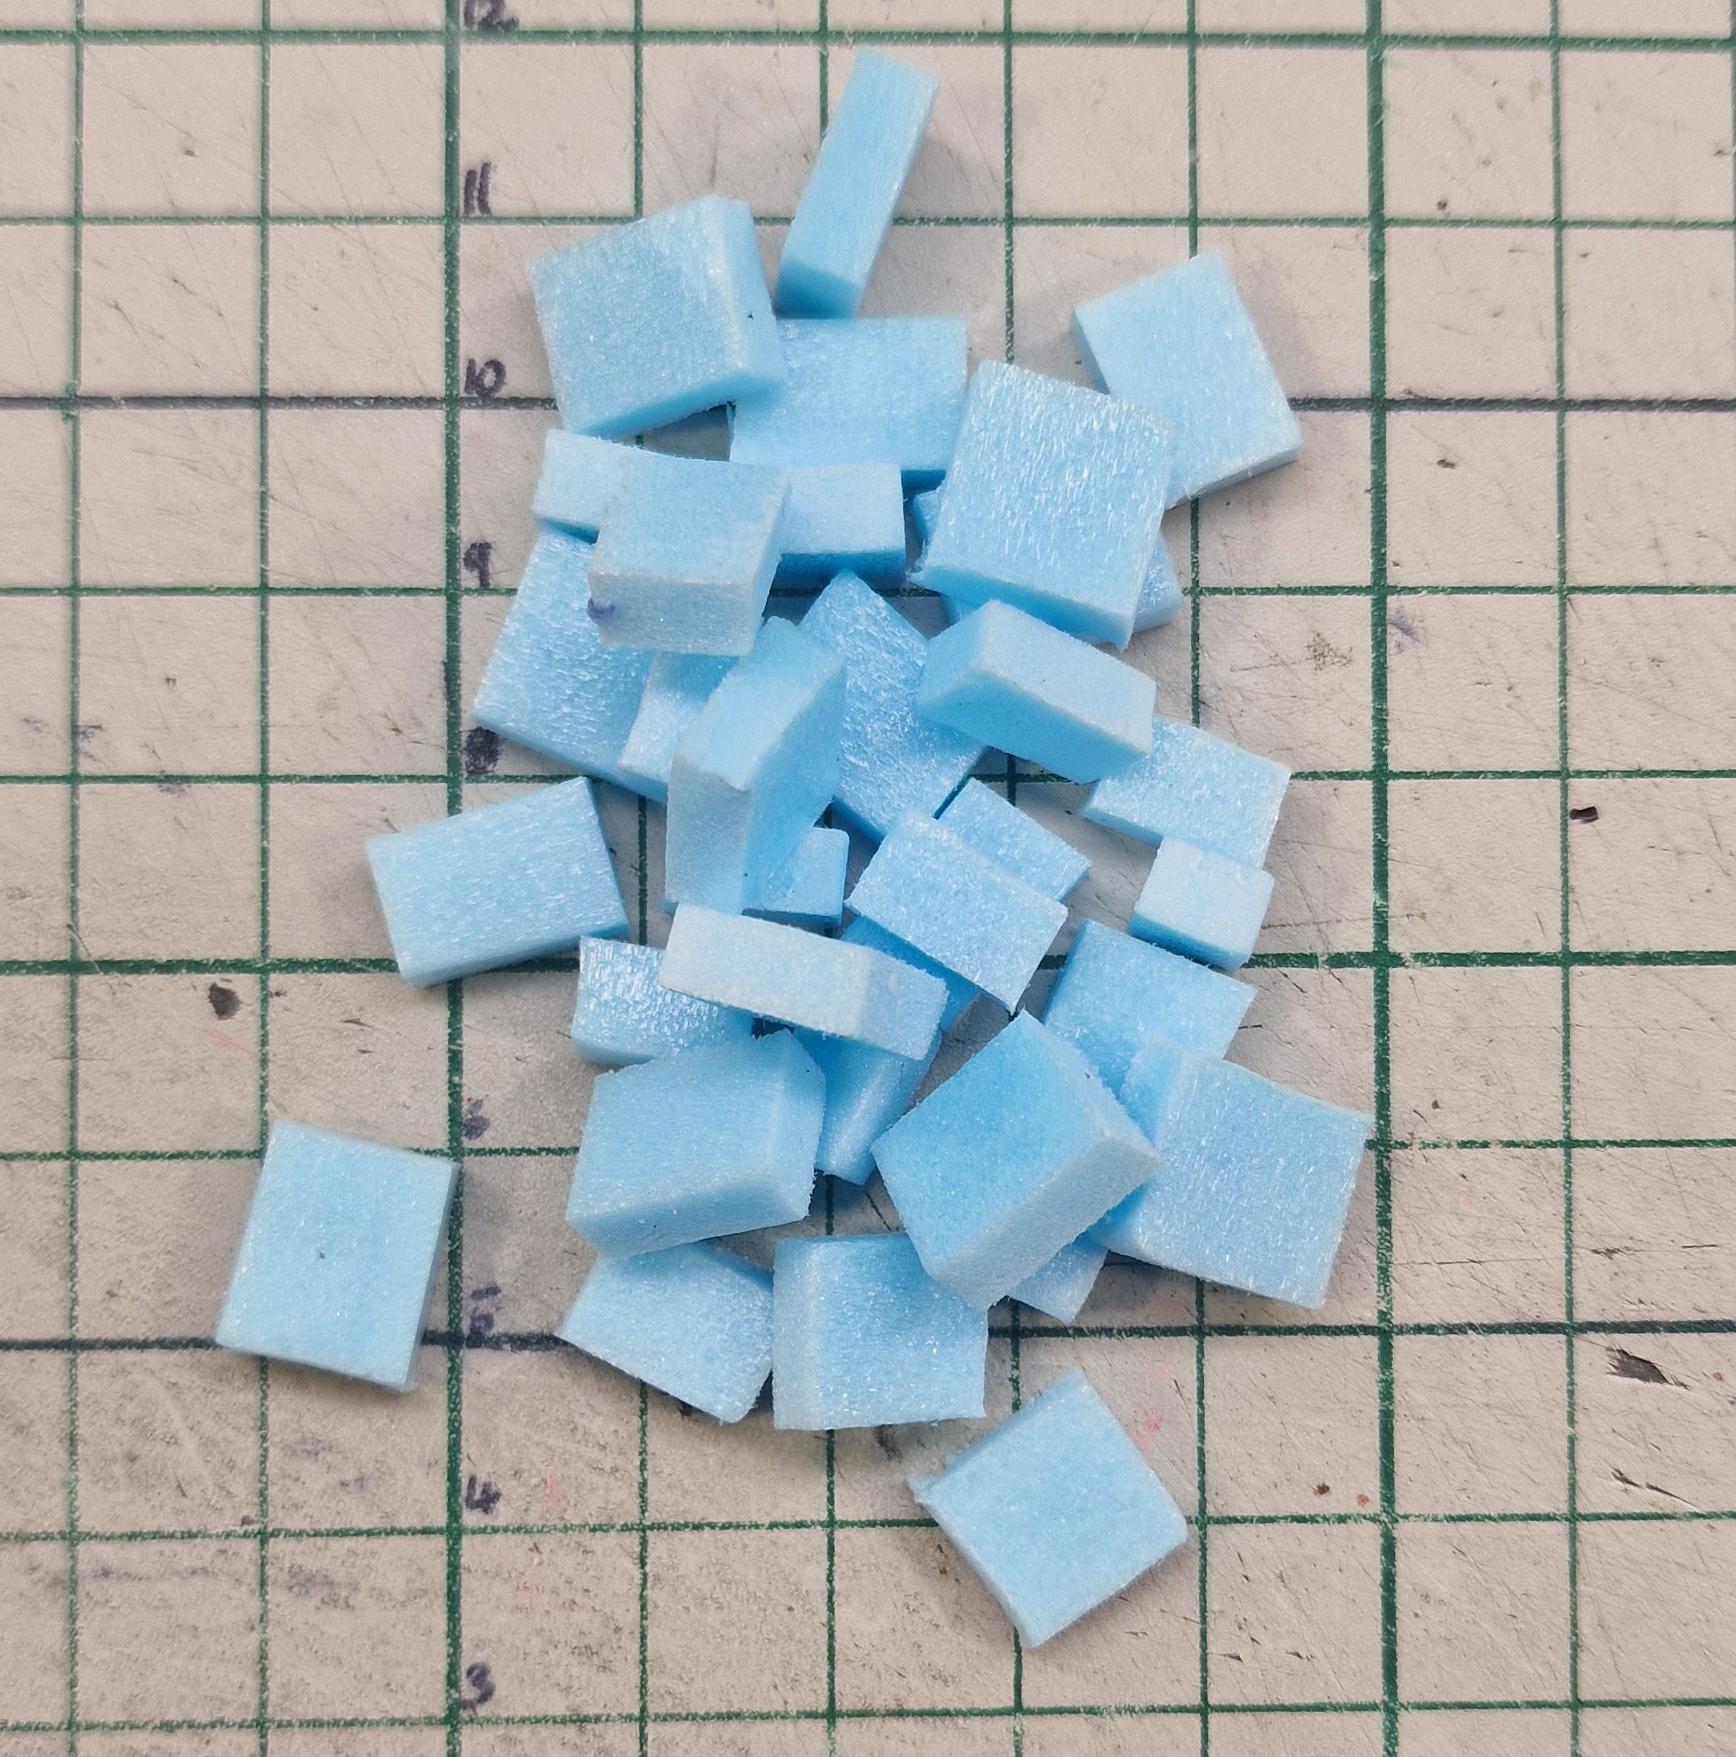
They’re about 5mm x 5mm x 10mm, but some variation is definitely to be preferred.
After dicing, we’ll need to age them a bit. No one likes sharp bricks, they’ll cut your mouth if you chew too hard.
We’ll do this, by throwing the bricks in a container with a few small/medium size rocks, and shake it vigorously.
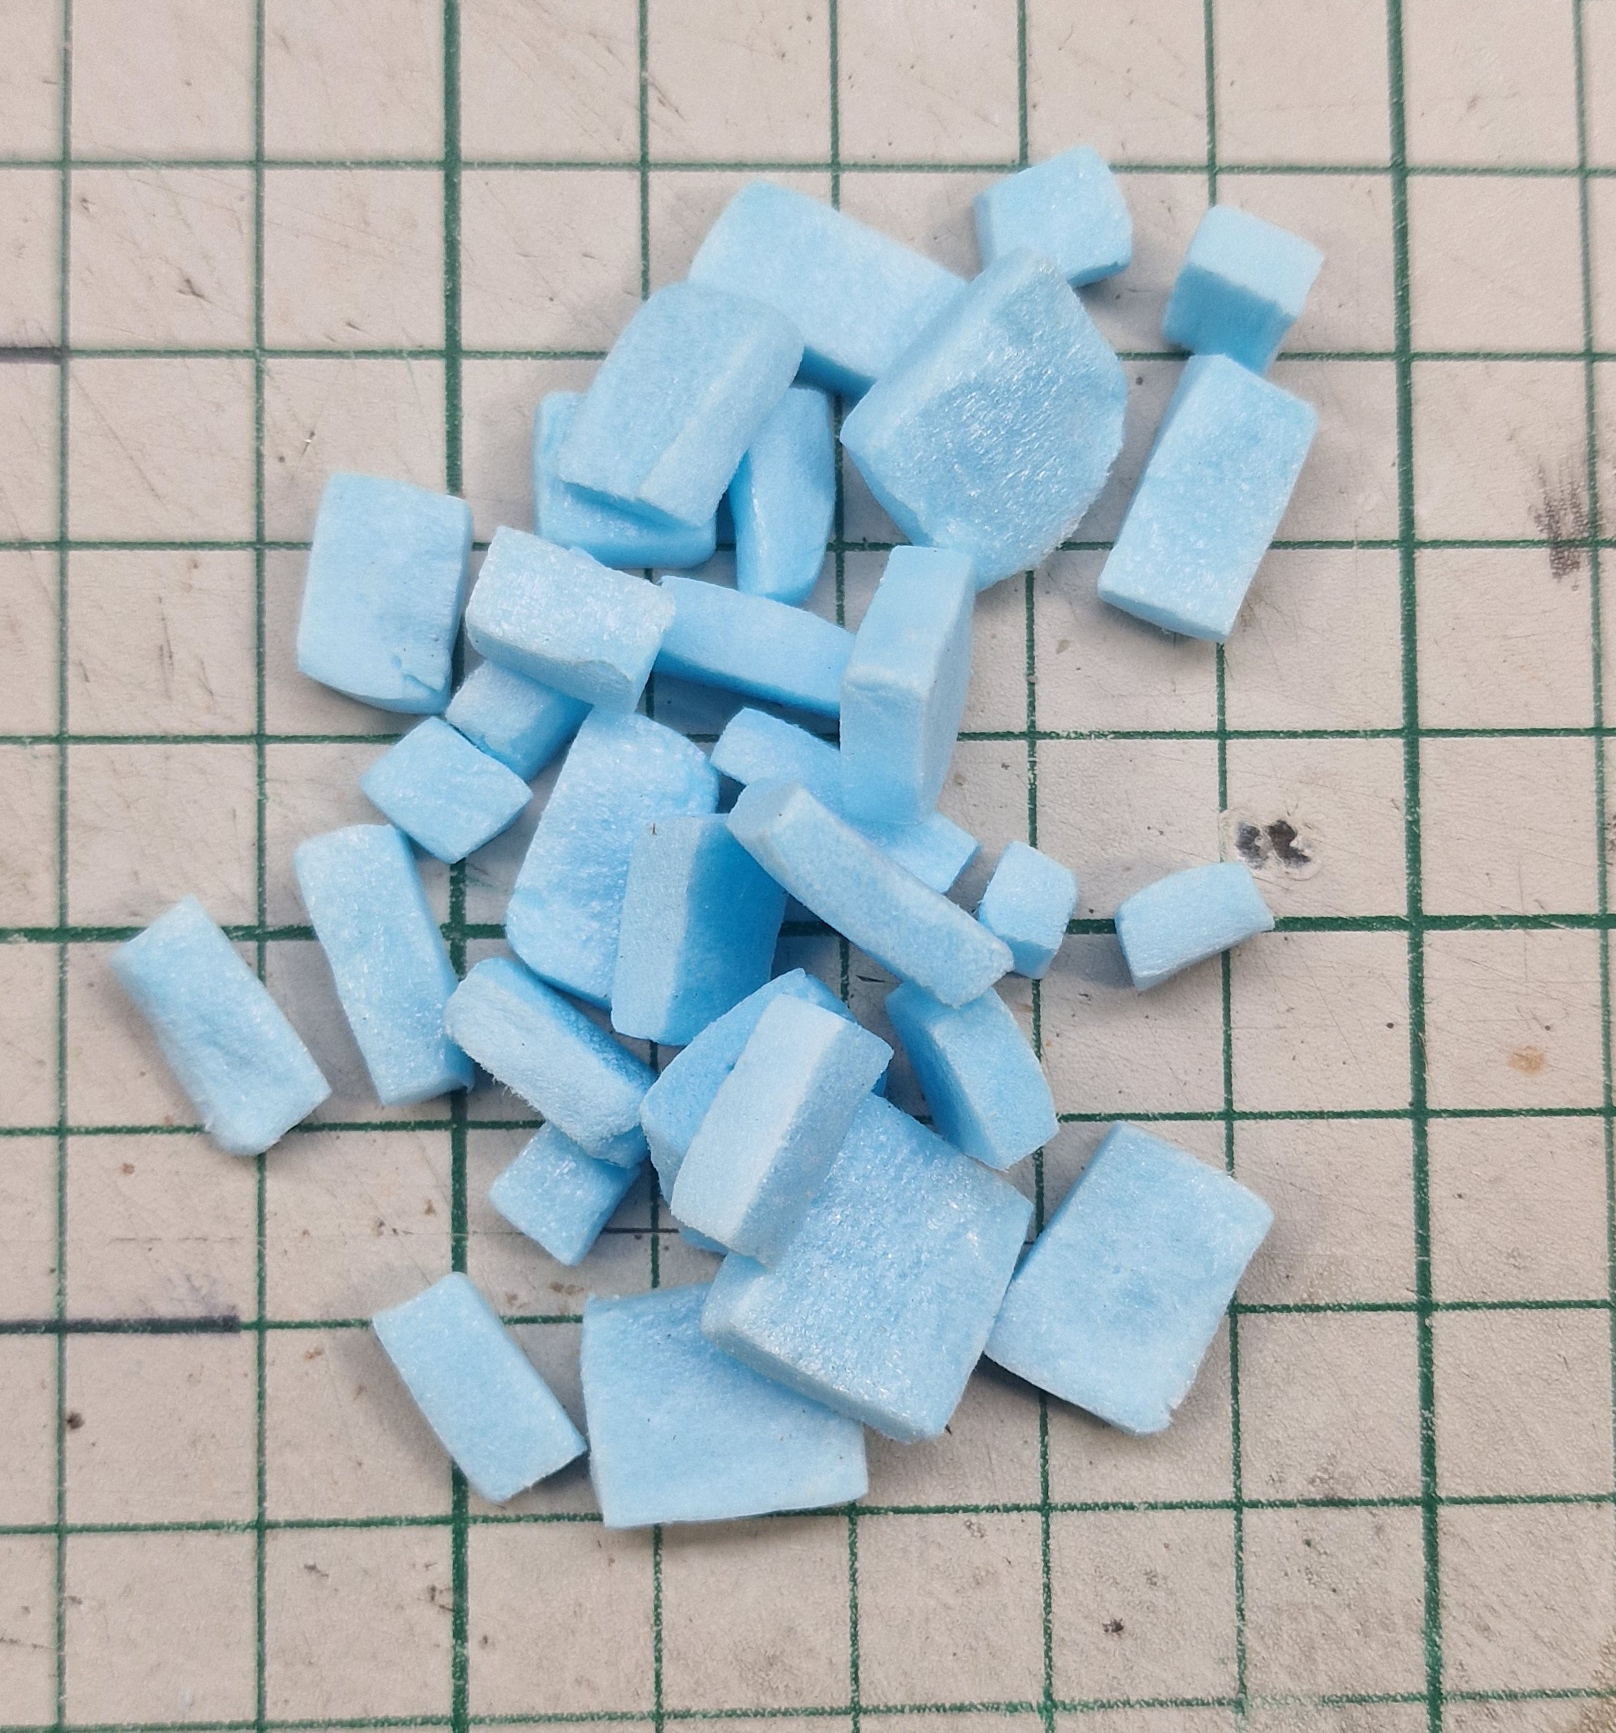
And so begins the long journey, of gluing and placing bricks.
The PVA glue (also named hobby glue, craft glue, low-quality wood glue) I used had a long drying time, which allows me to move the bricks around, and change my mind halfway. But its relatively brittle.
I would’ve loved to use hot glue here as well, but that means I won’t be able to reposition any of the bricks.
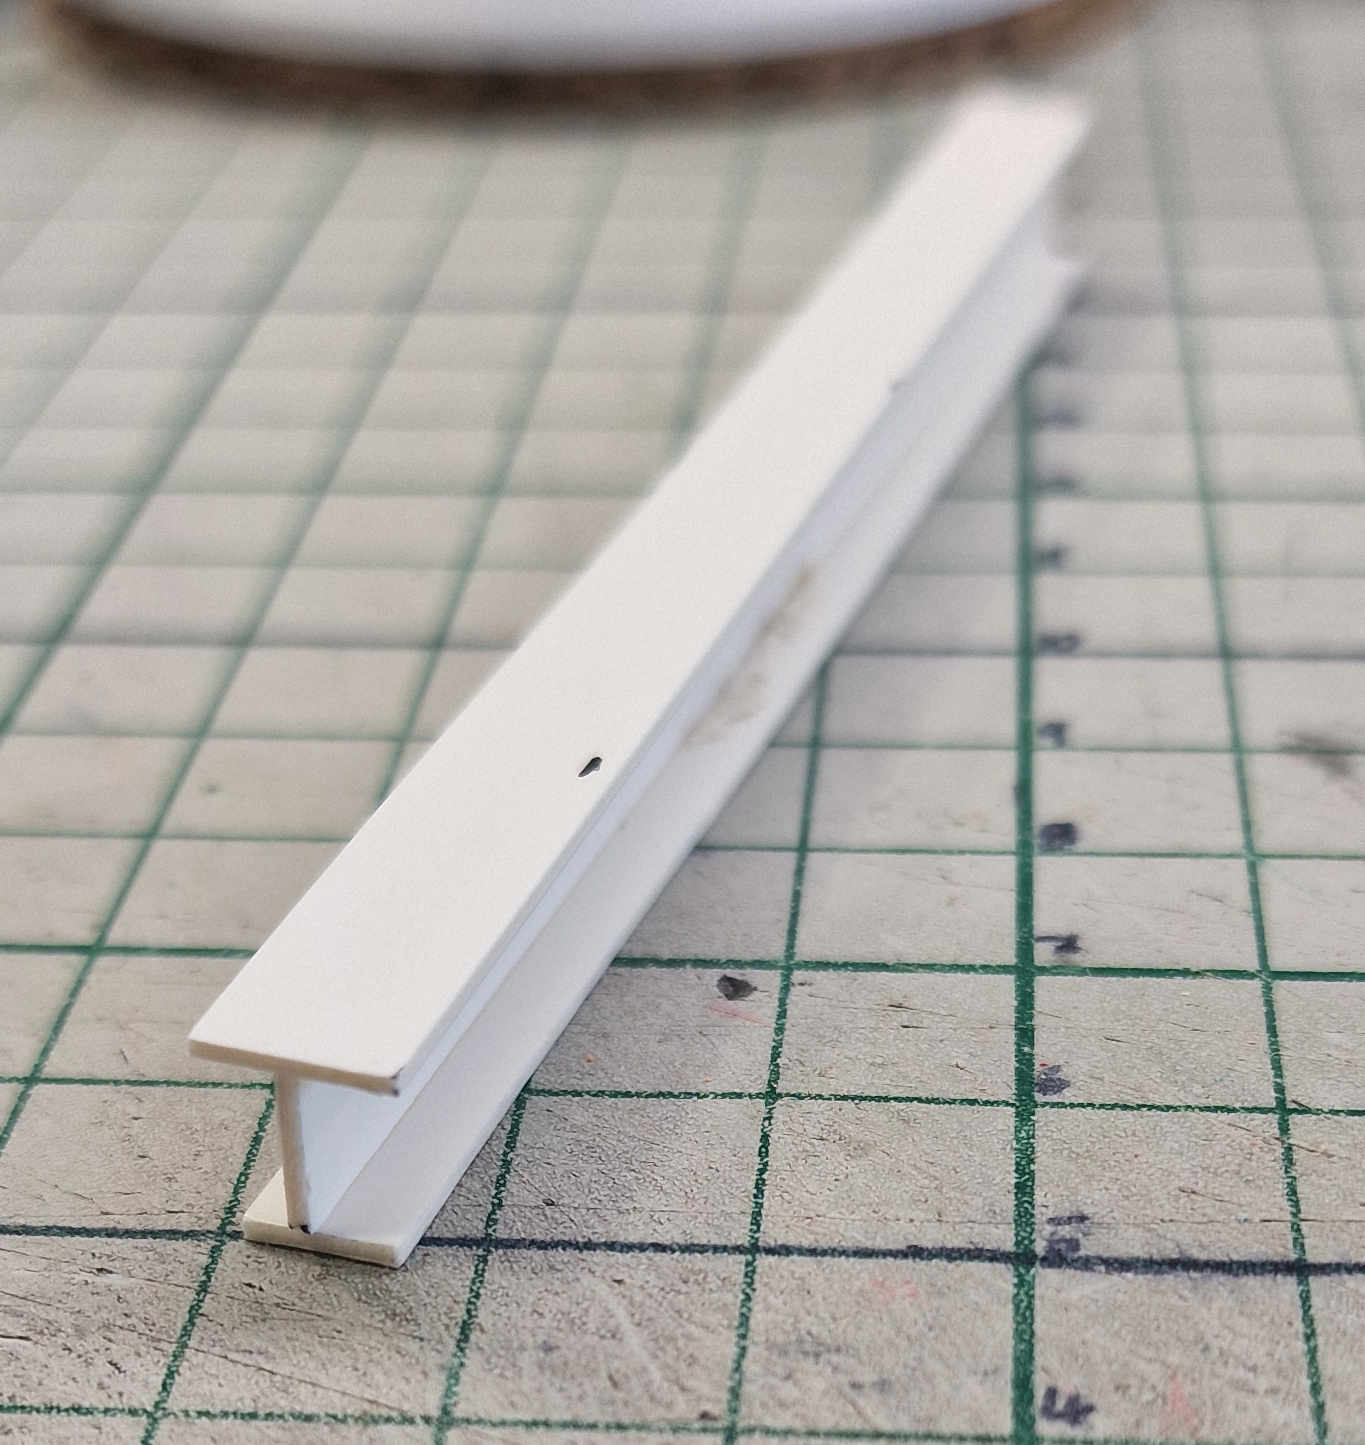
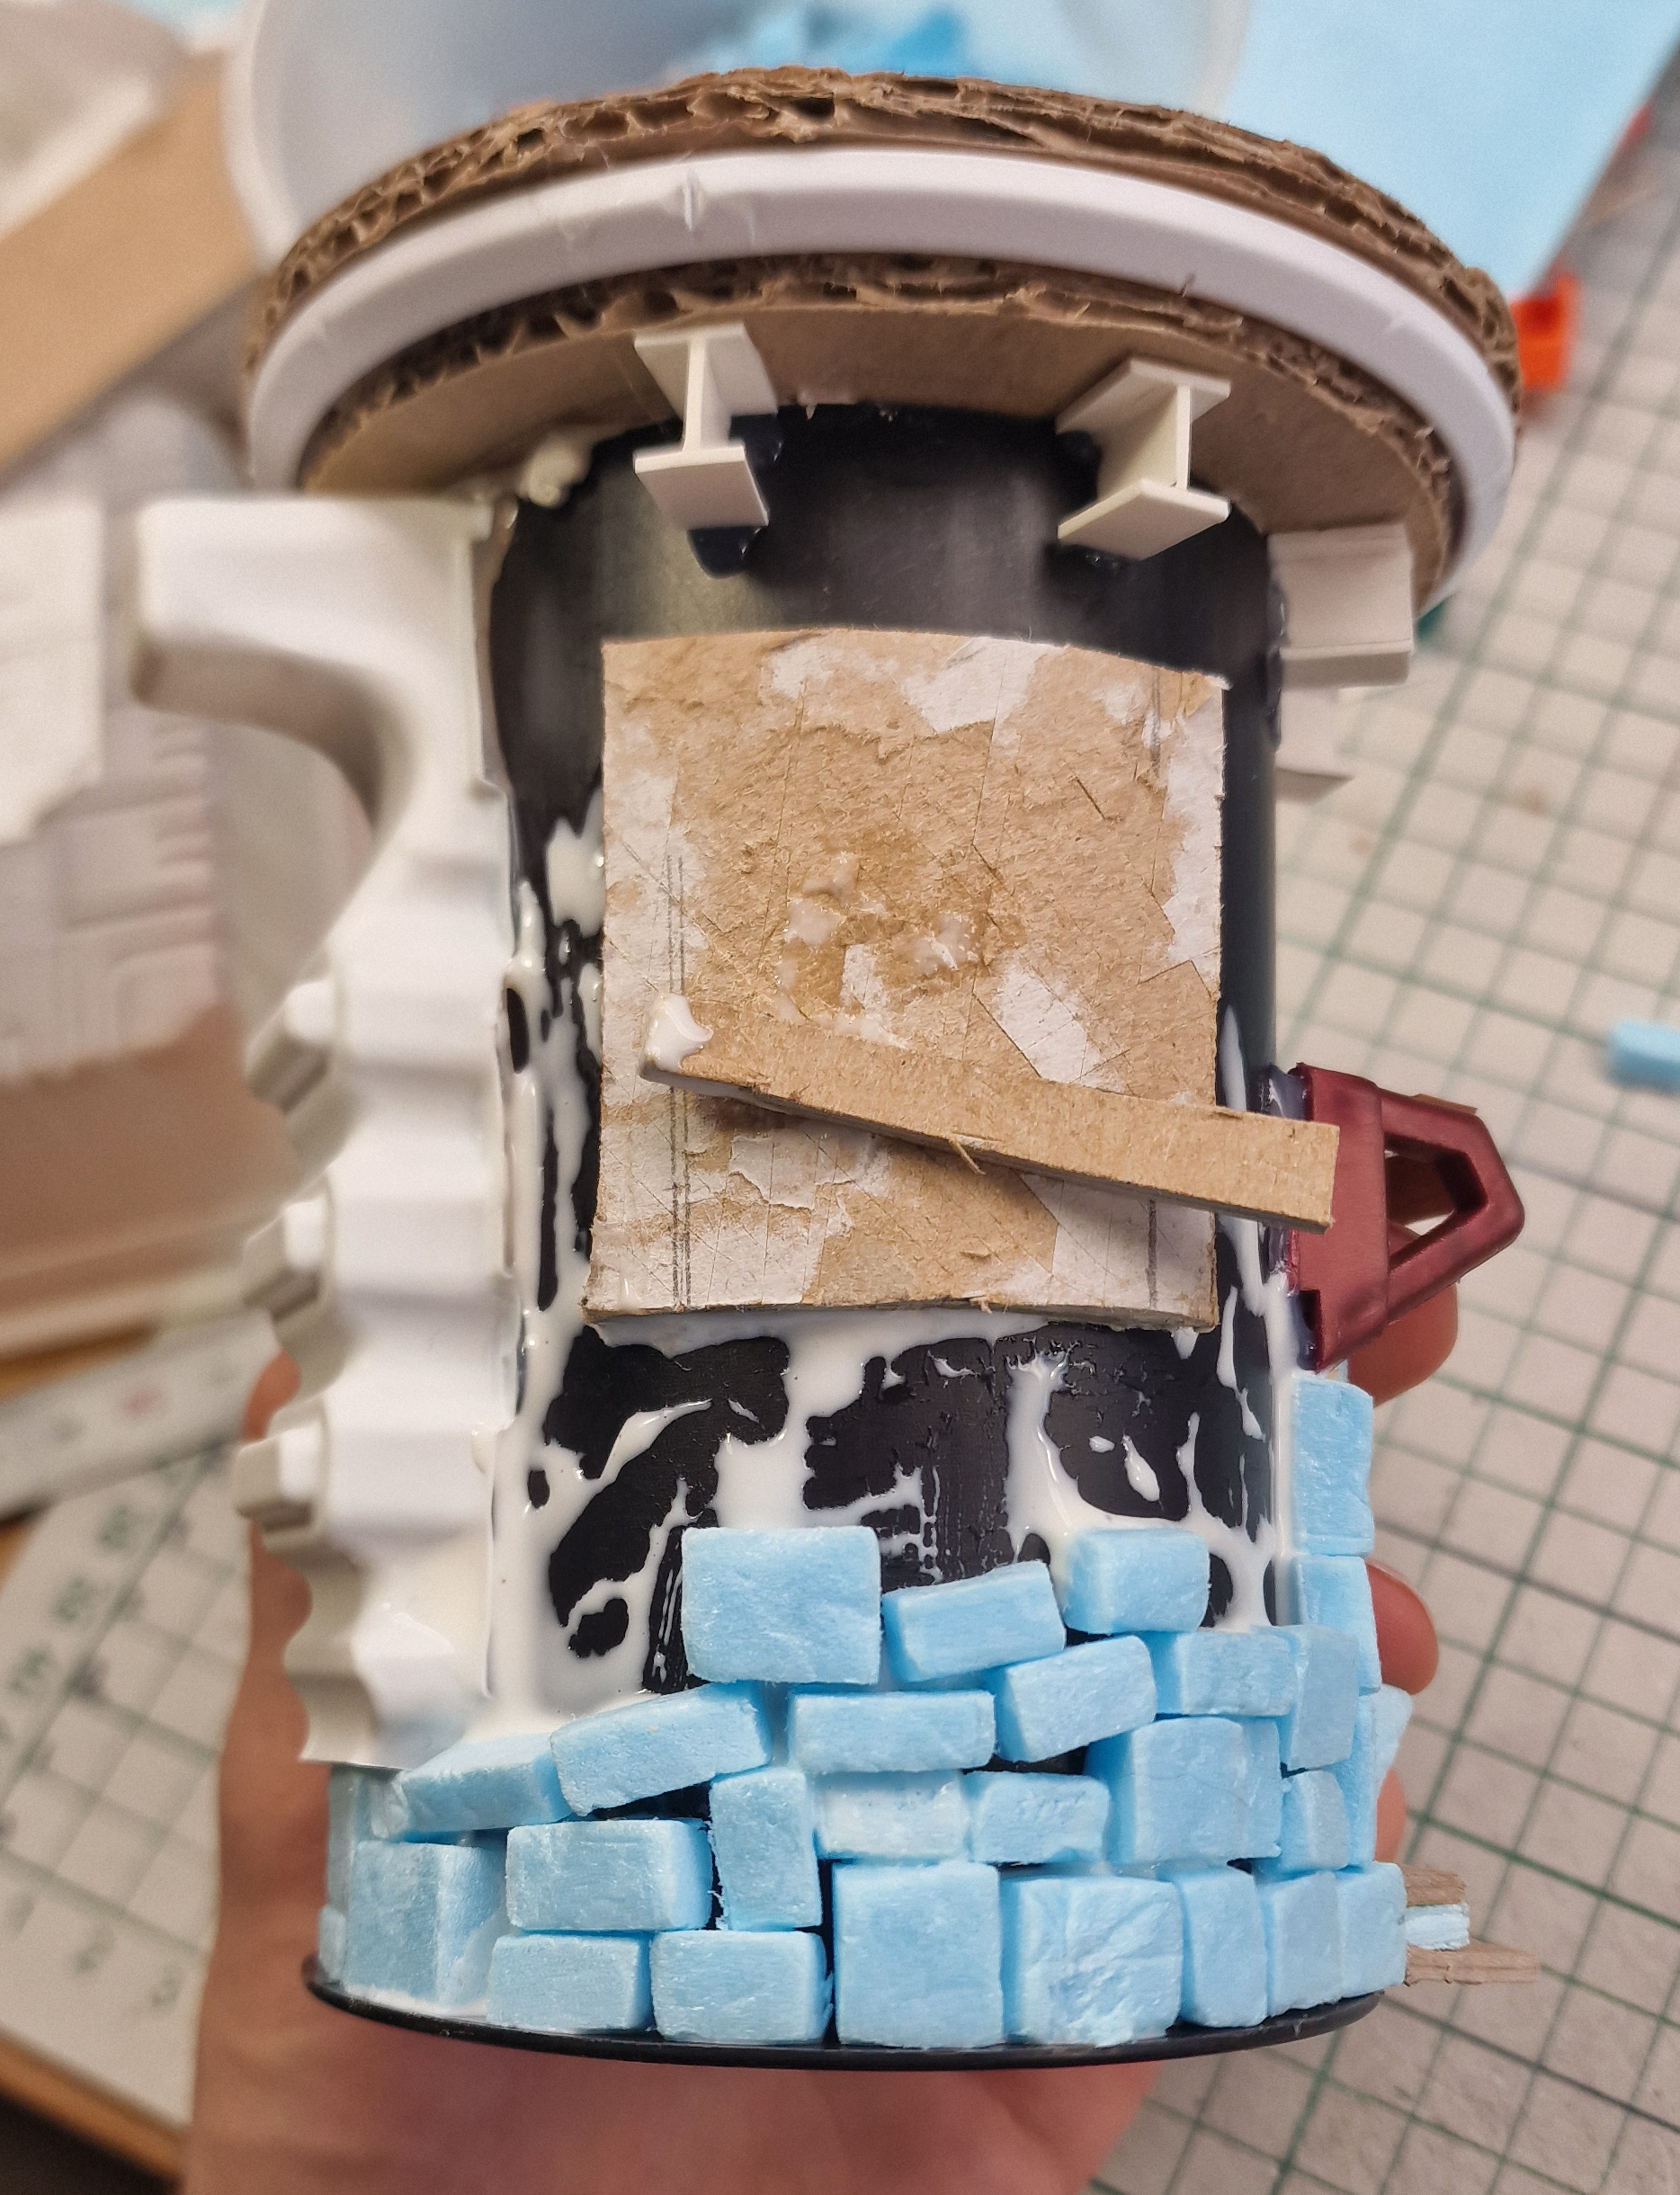
I also made these I-beams (they’re called so, because the letter I resembles the shape of the beam – wait, you can’t see that can you, hold up, let me change my font…
I
There, see what I mean? That’s totally the same shape as the I-beam and.. Yeah… yeah you get it).
Chimney
This chimney was mainly made from a label maker cartridge.
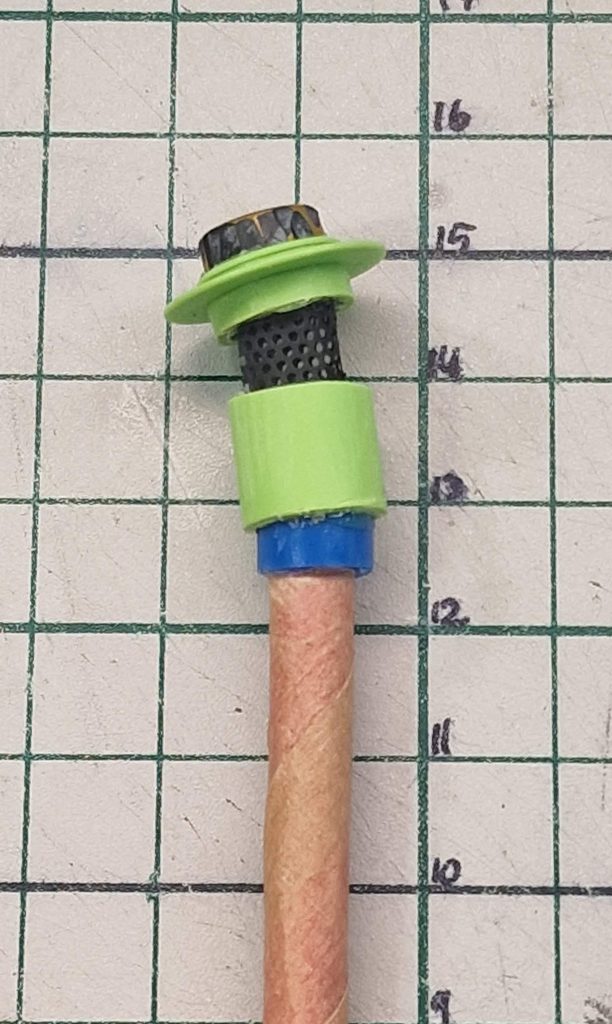
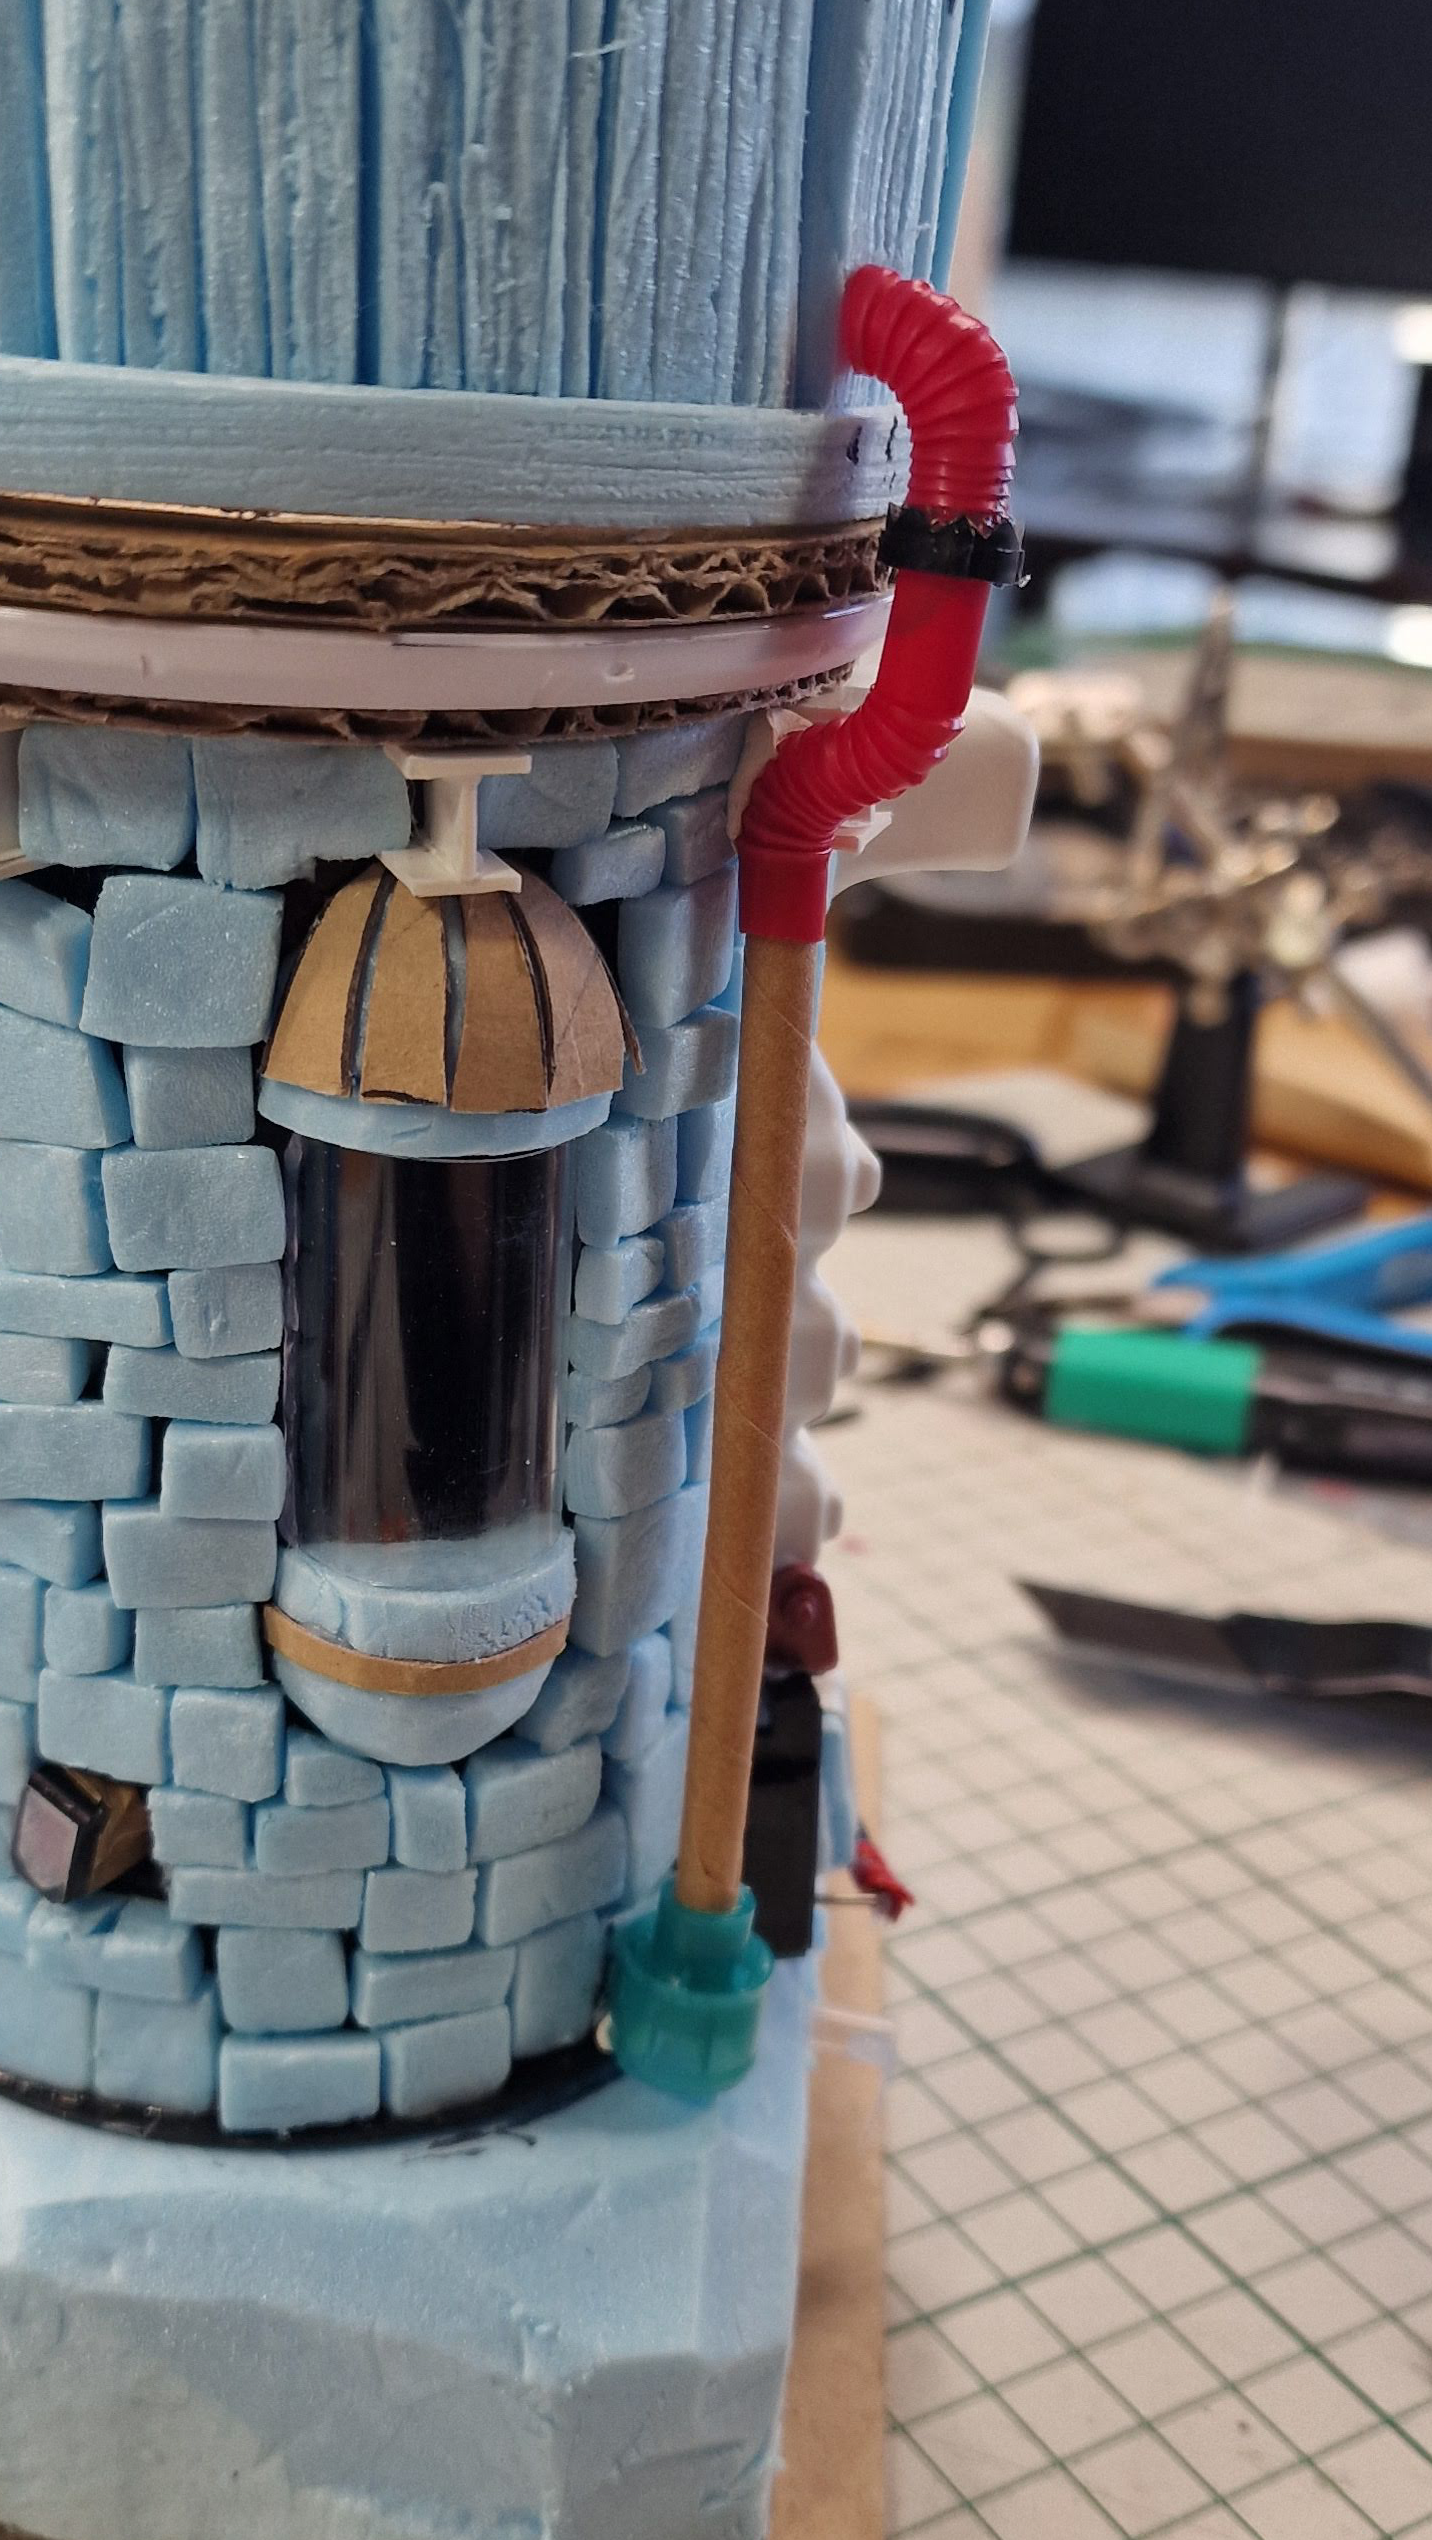
Downpipe / plumming
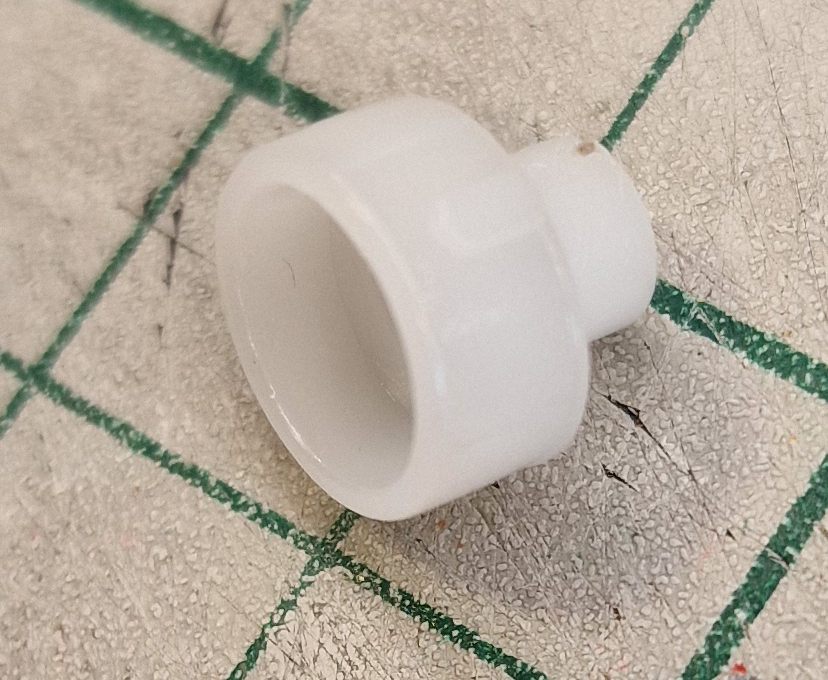
This plumming-looking tube is made from the bending part of 2 plastic straws.
The cap at ground level is, once again, from a soap dispenser.
Making it sci-fi
The great thing about sci-fi, is the plethora of details we can add, without really understanding the mechanics behind. That’s at least how I choose to see it.
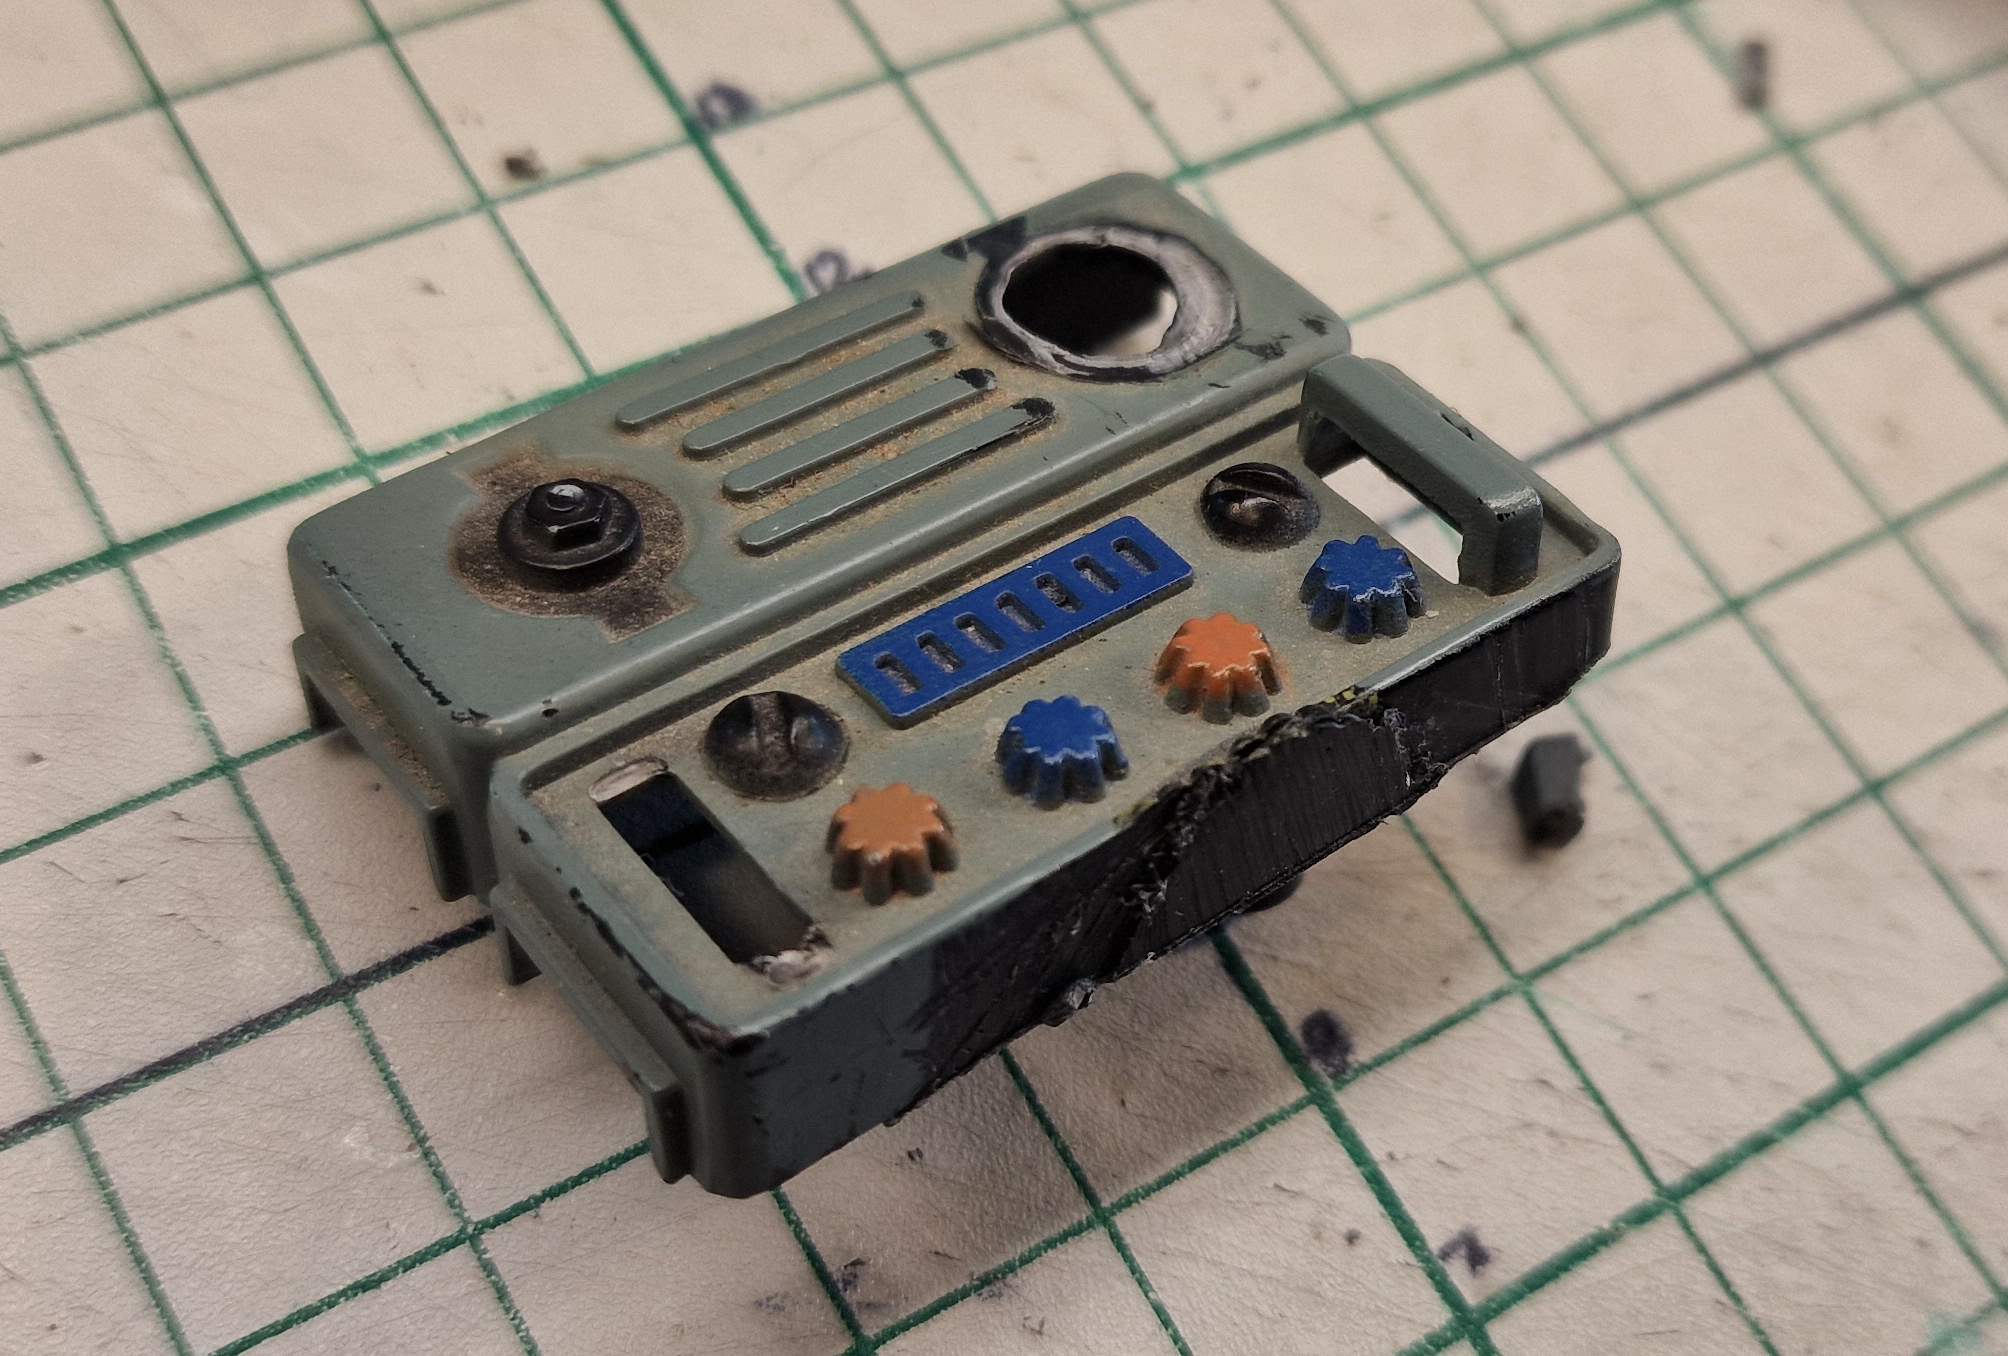
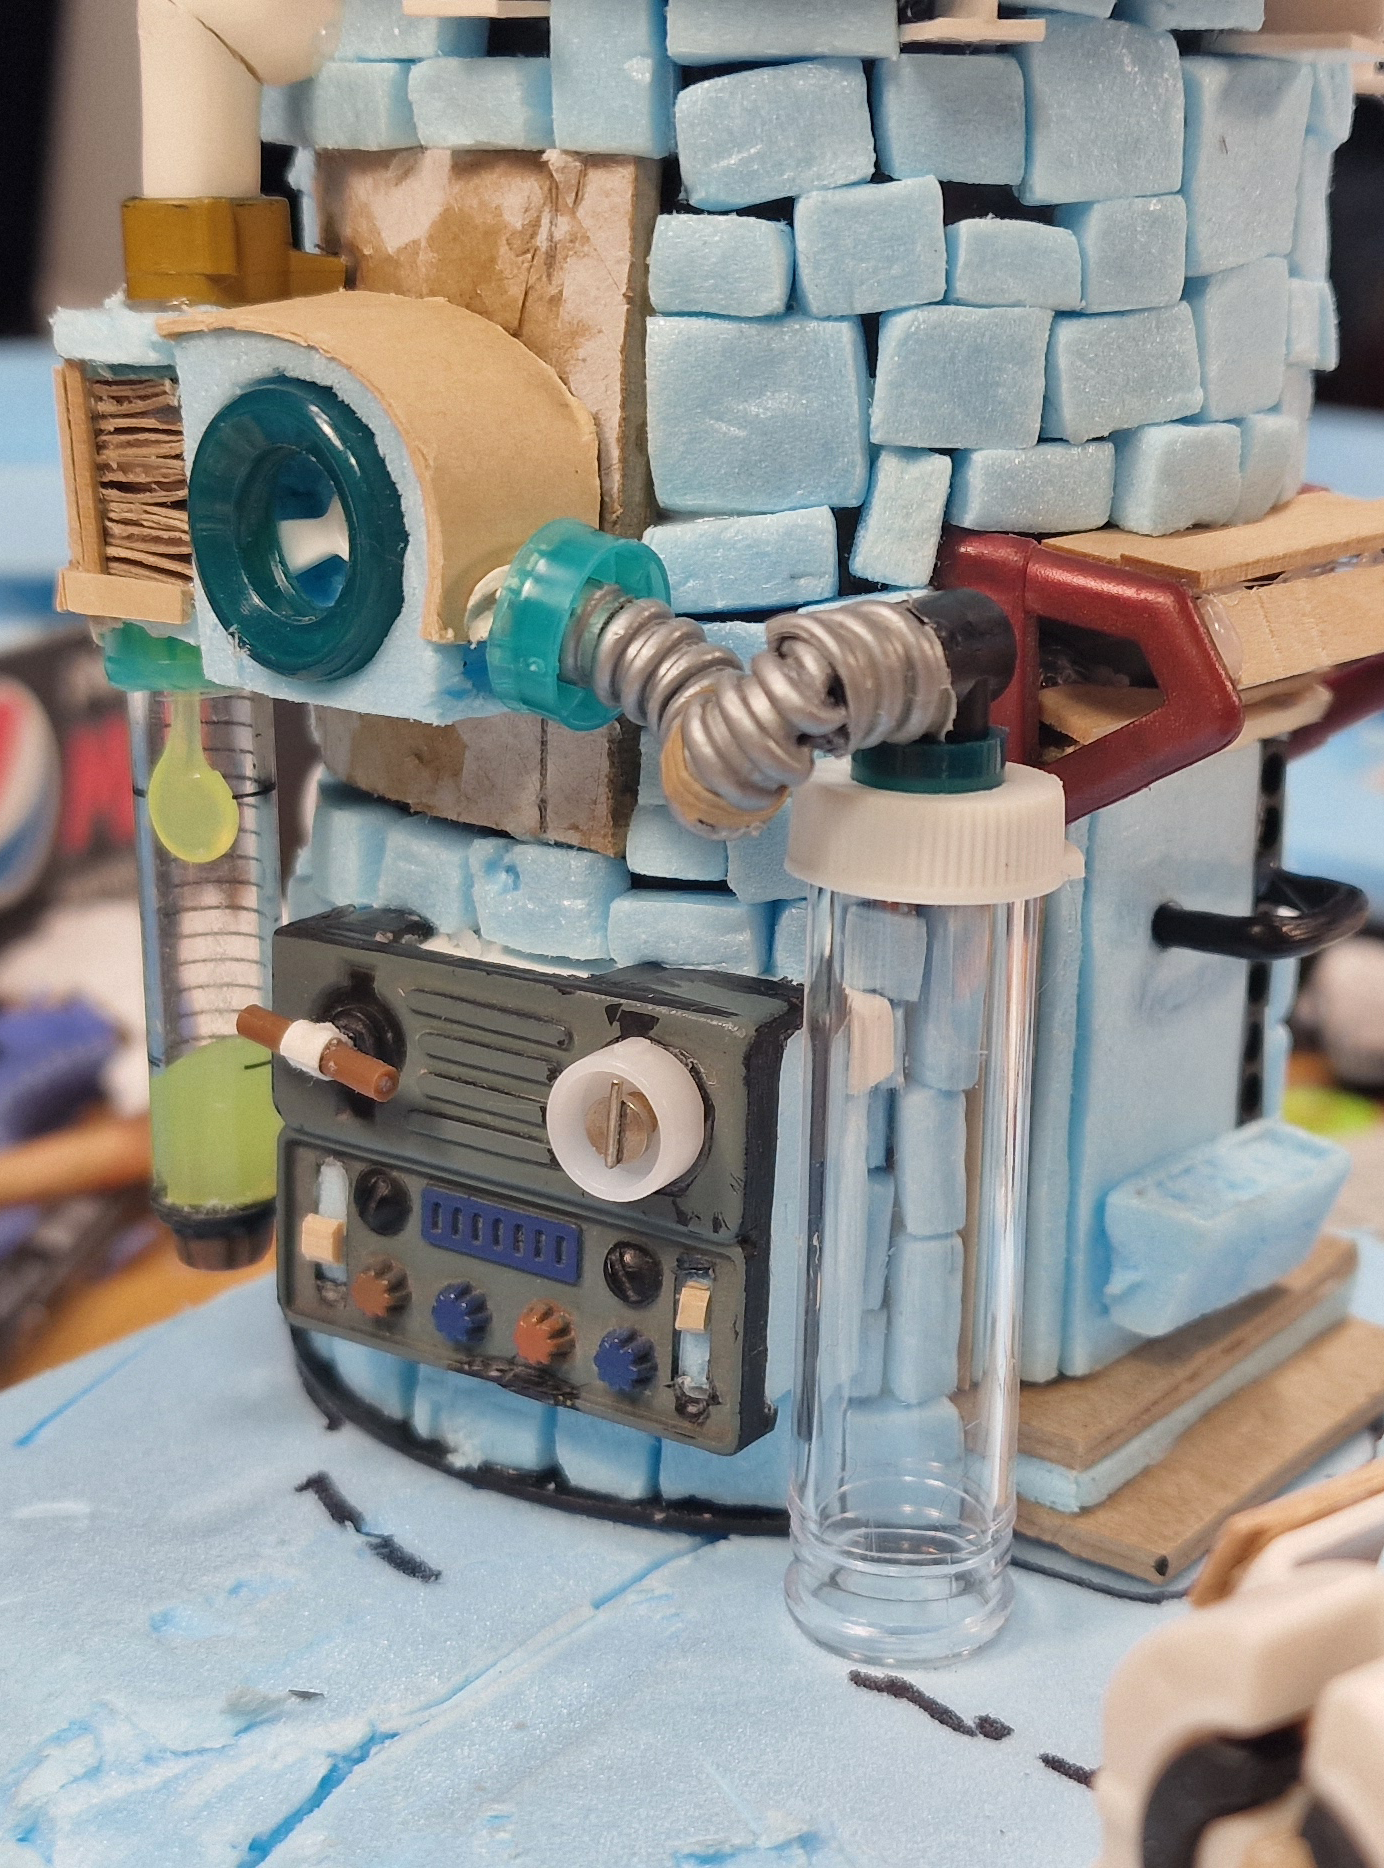
We can repurpose the missing handrail slots as sliding dimmers.
I’ve got this dirty boi, that was salvaged from a toy car.
It needs a thorough cleaning but it provides a great starting point.
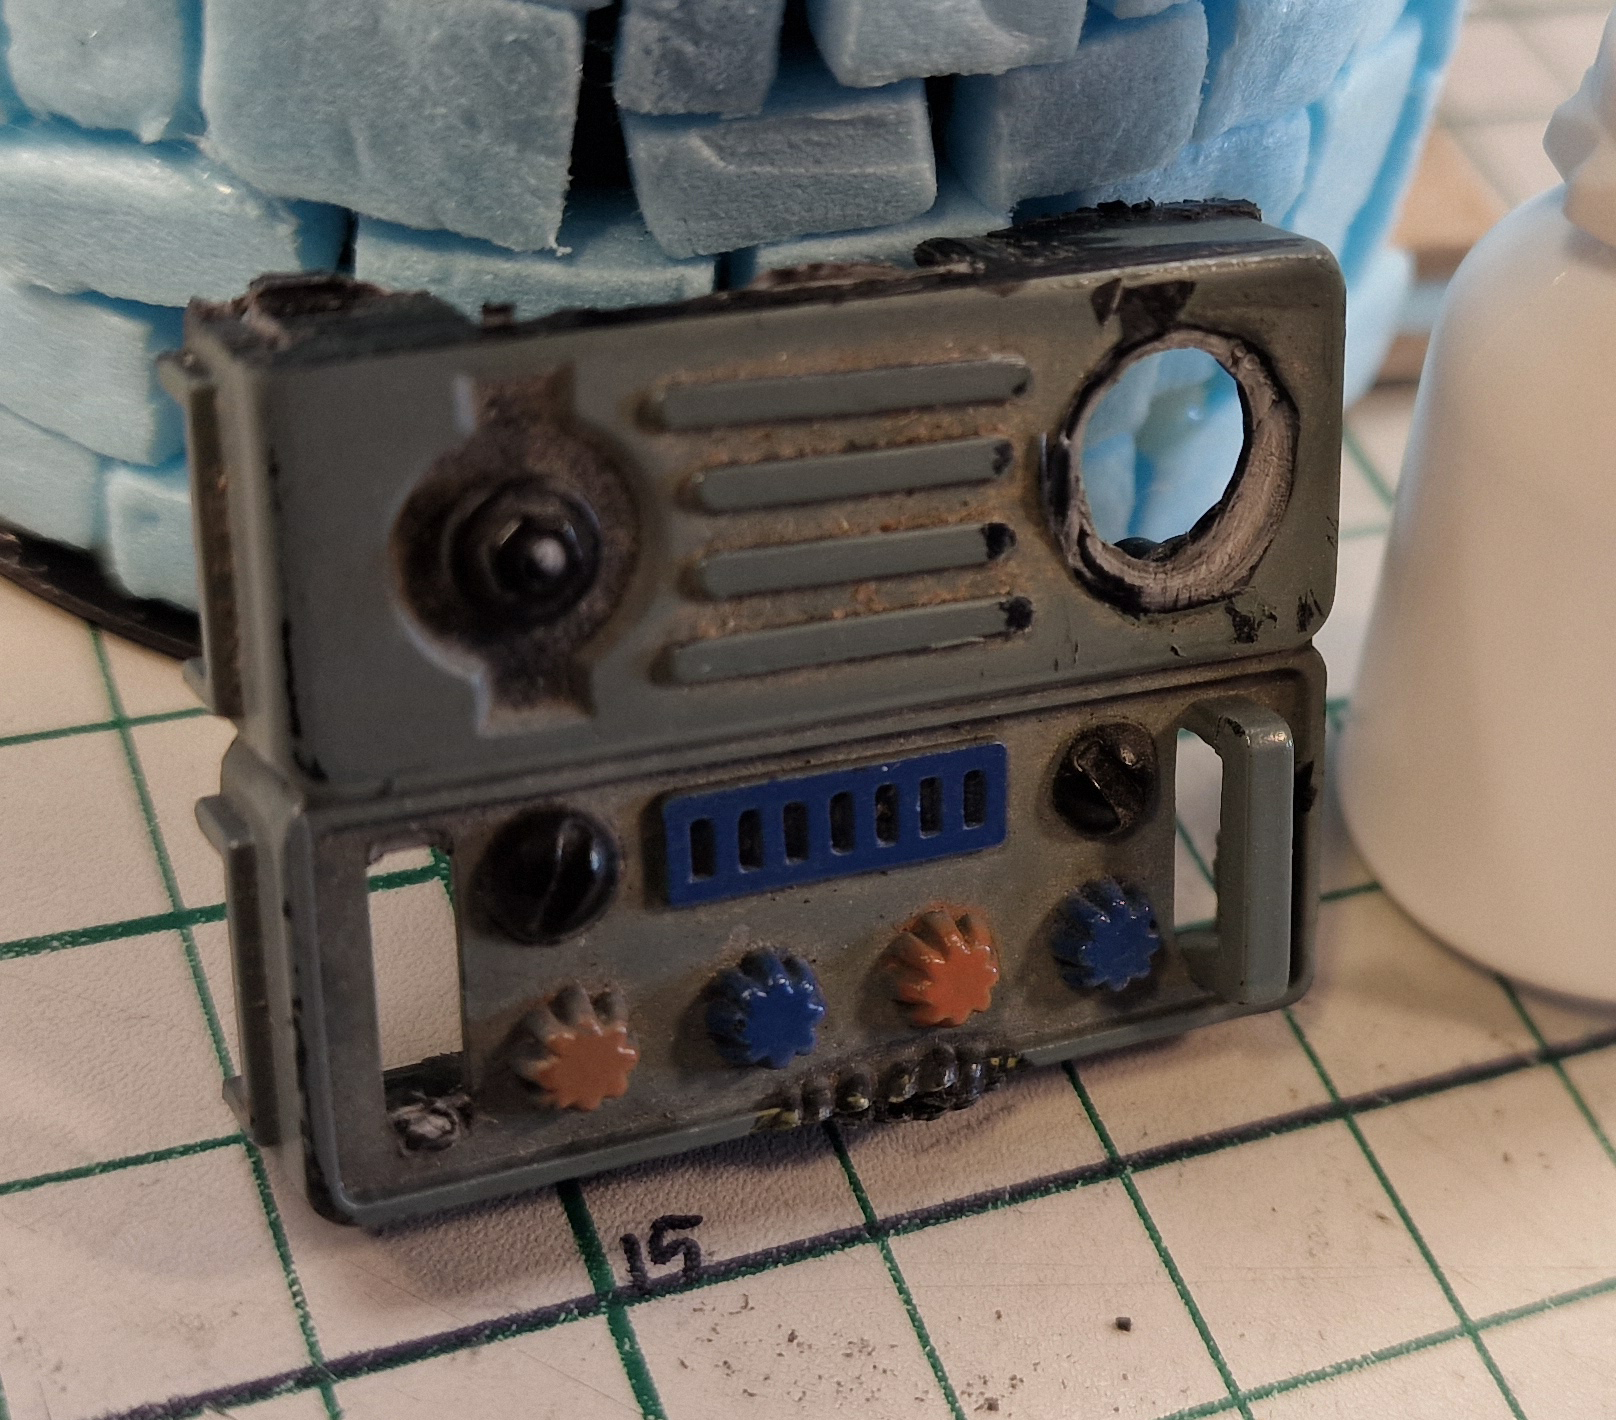
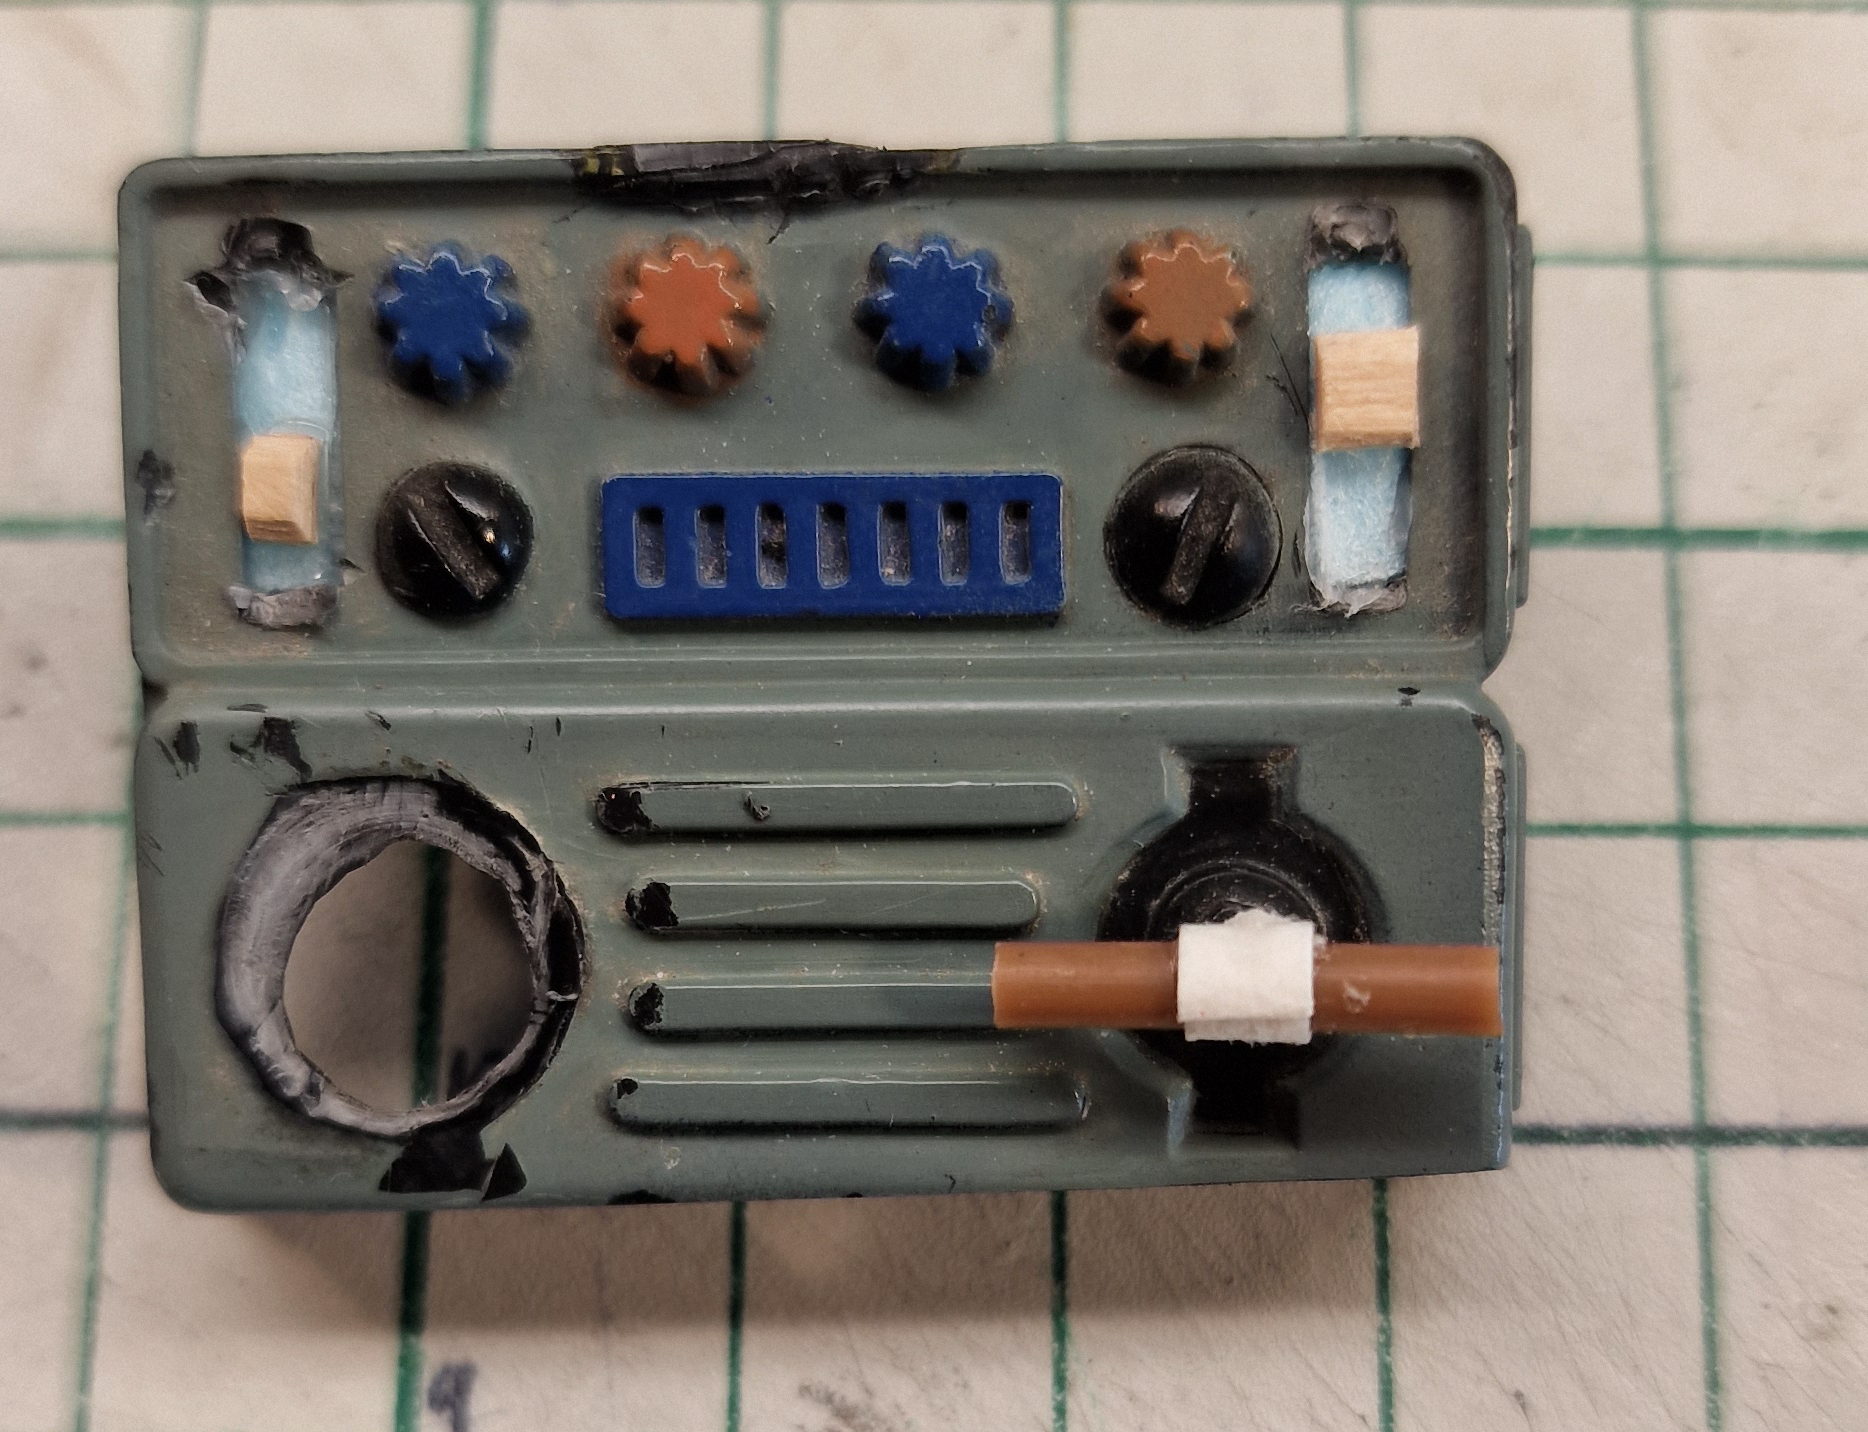
The rotate-switch-thingy actually rotates, as I mounted the brown rod on a wire, that pokes though the casing and ends in a knot.
The circular hole gets plugged with another soap-pump bit, which will act as a gauge.
Using a pan head screw, I glued a small piece of steel rod in the slot. This makes for a pretty convincing gauge, especially once it gets painted (I hope).


Observatory
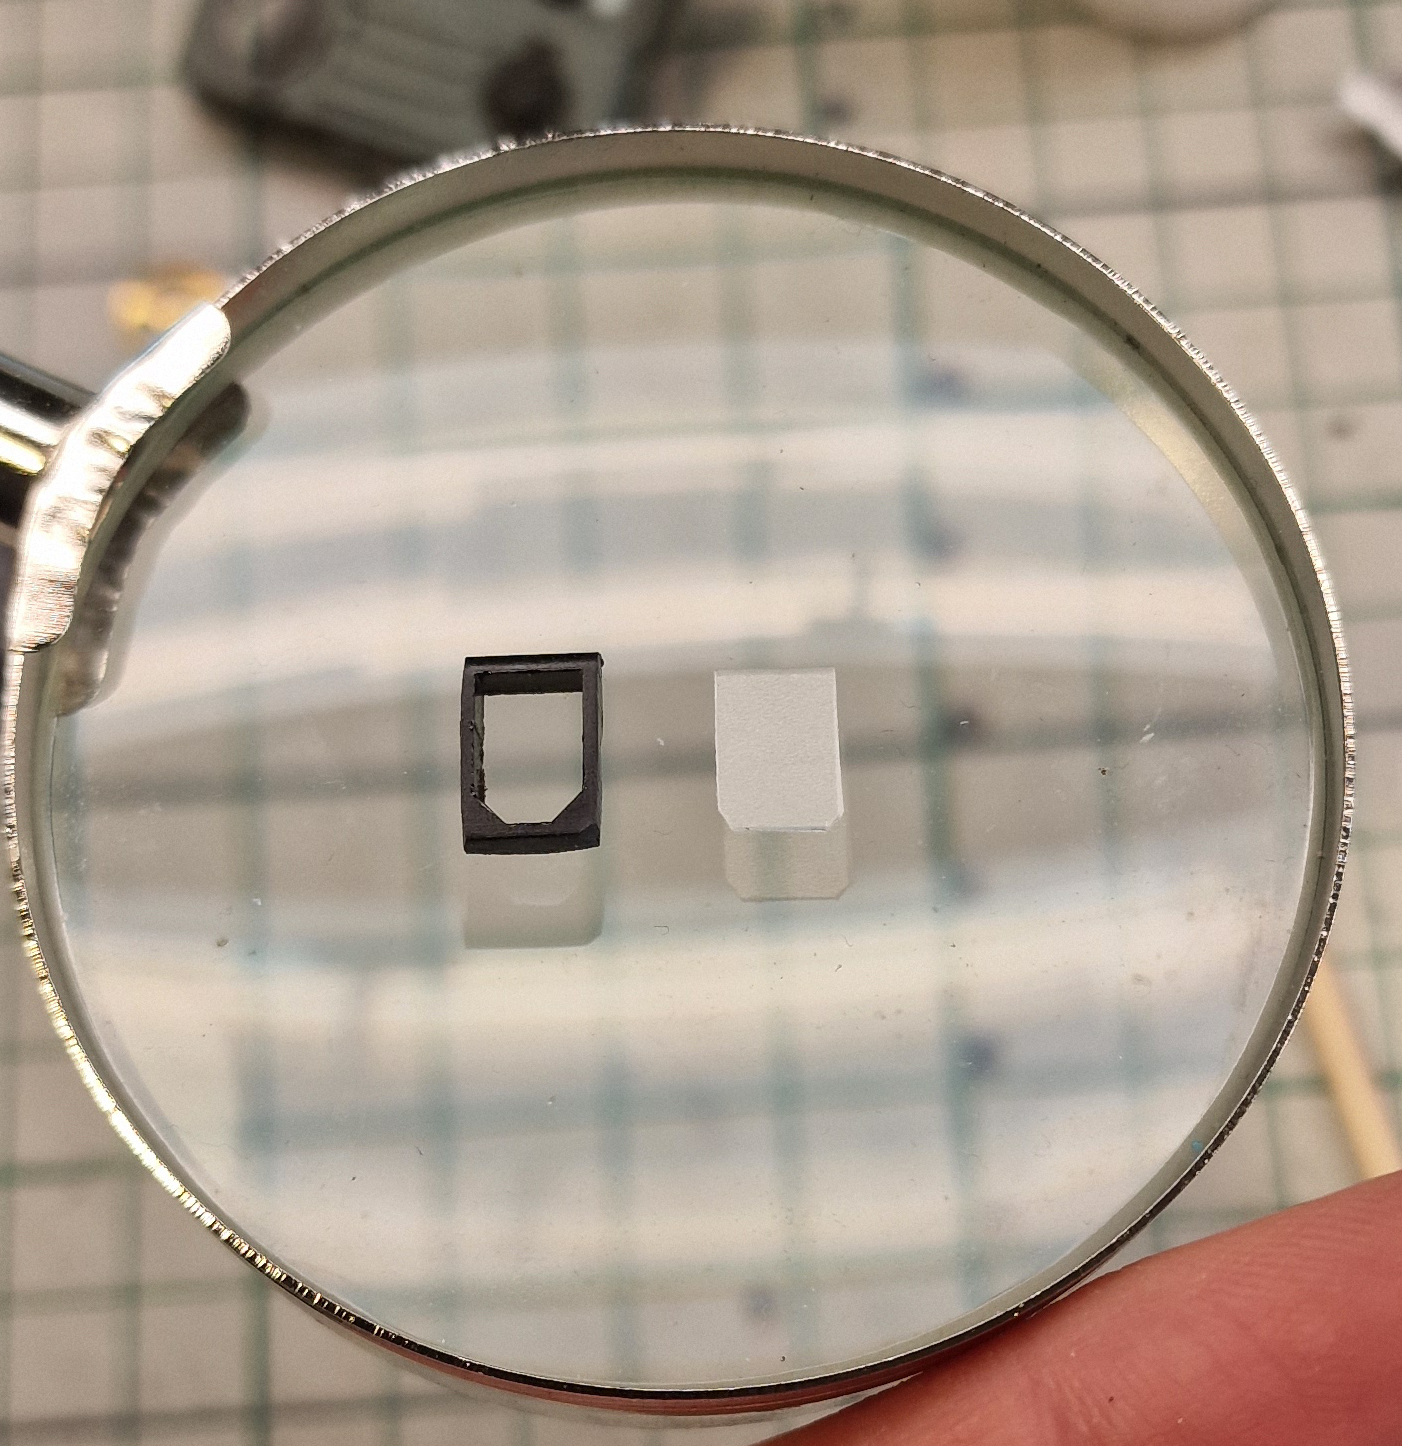
Stop button
Unfortunately, I don’t really know where the black casing came from, but I found it at the bottom om my bits-box.
A piece of diffuse plastic will act as the safety cover.
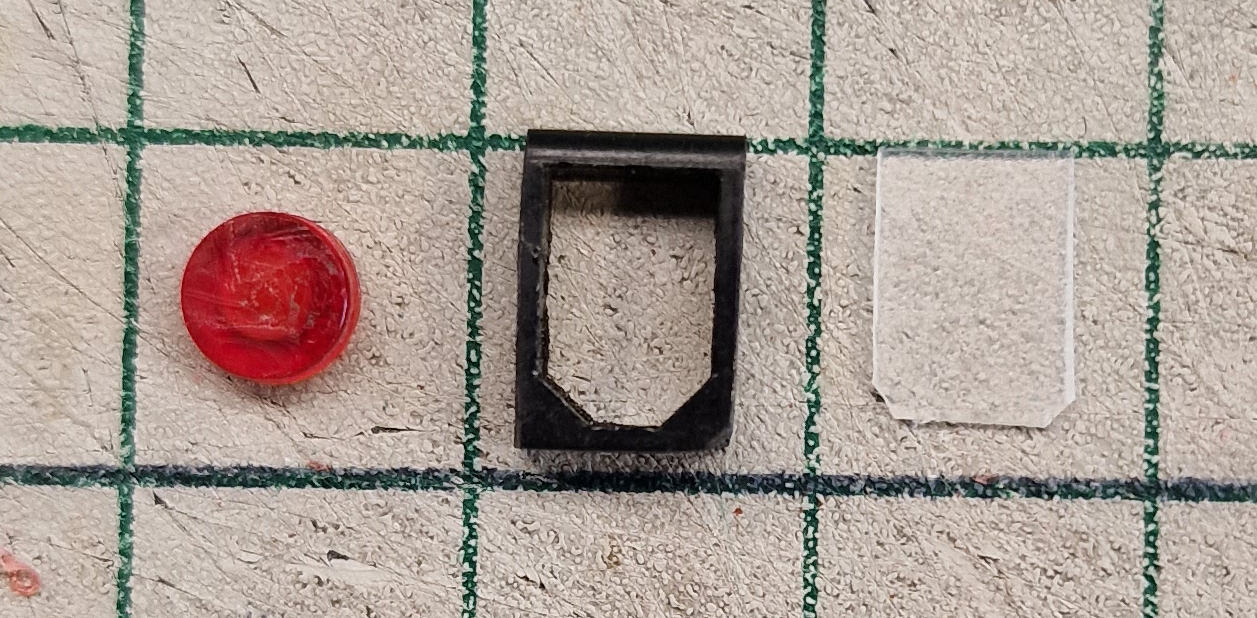
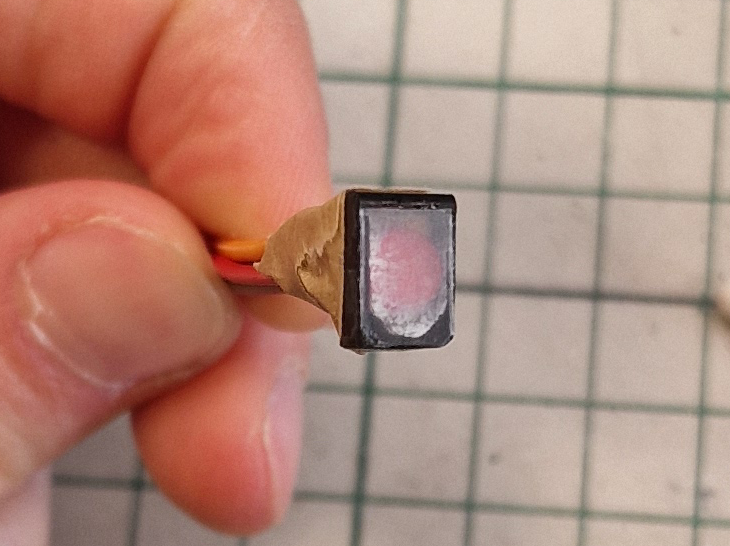
I then committed statutory crimes, and cut off the tip of a Lego stud. This might just get me thrown out of the country, but at least this way, the stud gets used.
The stud gets hotglued to an addressable RGB led, and the cover to the casing.
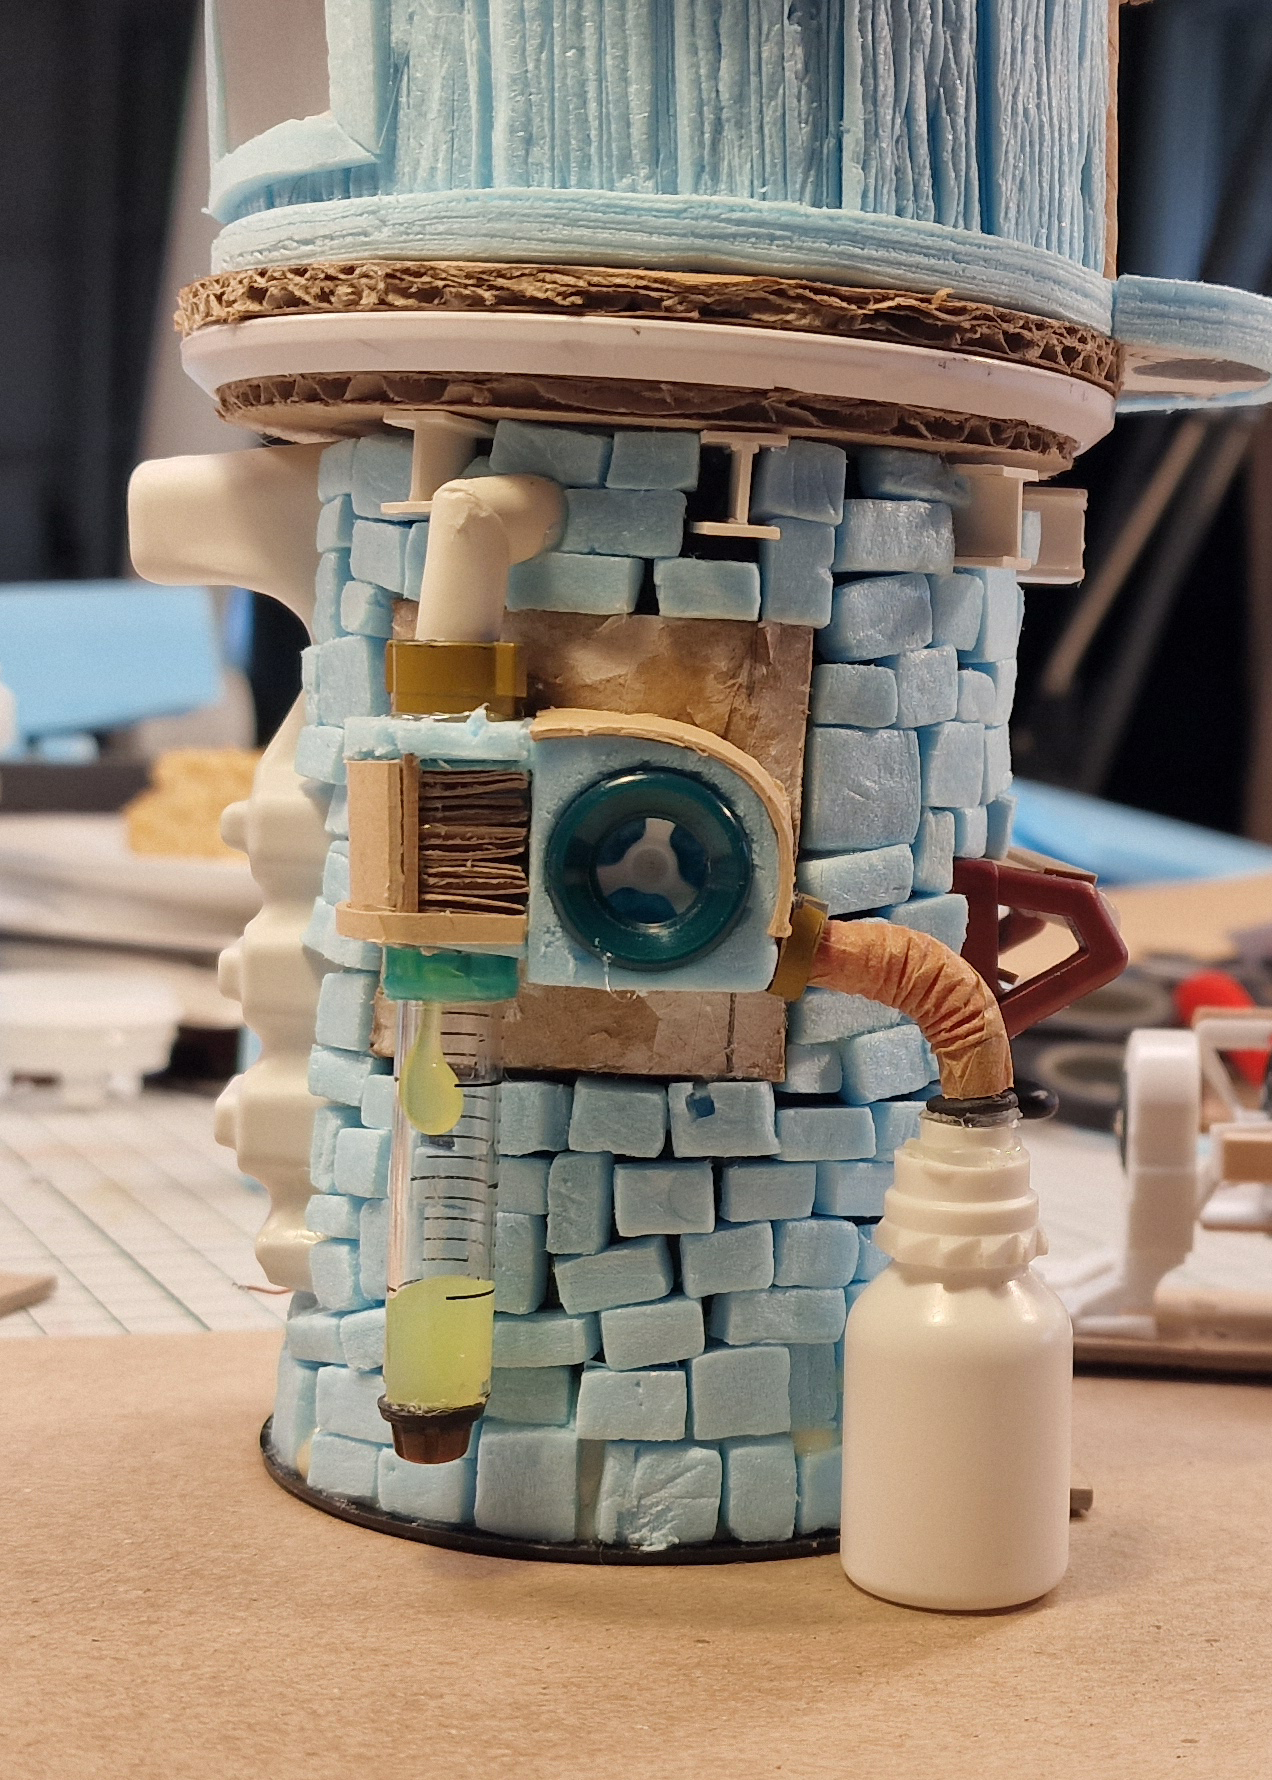
Power genration
This machine functions as a heat pump, but allows for a few different types of fuel.
I started out with this white flask, but decided to go with a transparent container instead – I have more of them, so I can scatter empty/full containers as clutter.
Painting
The windows will be masked off, during the majority of the painting process.
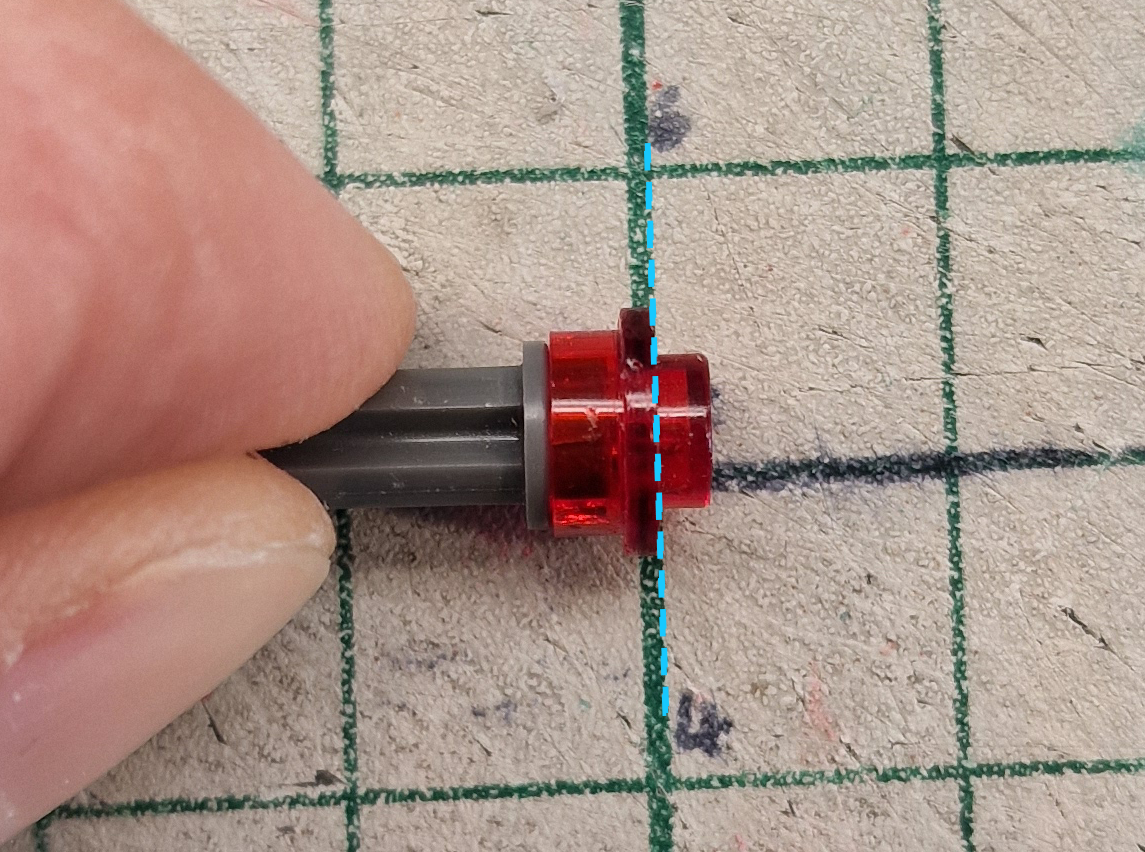
Deprecated
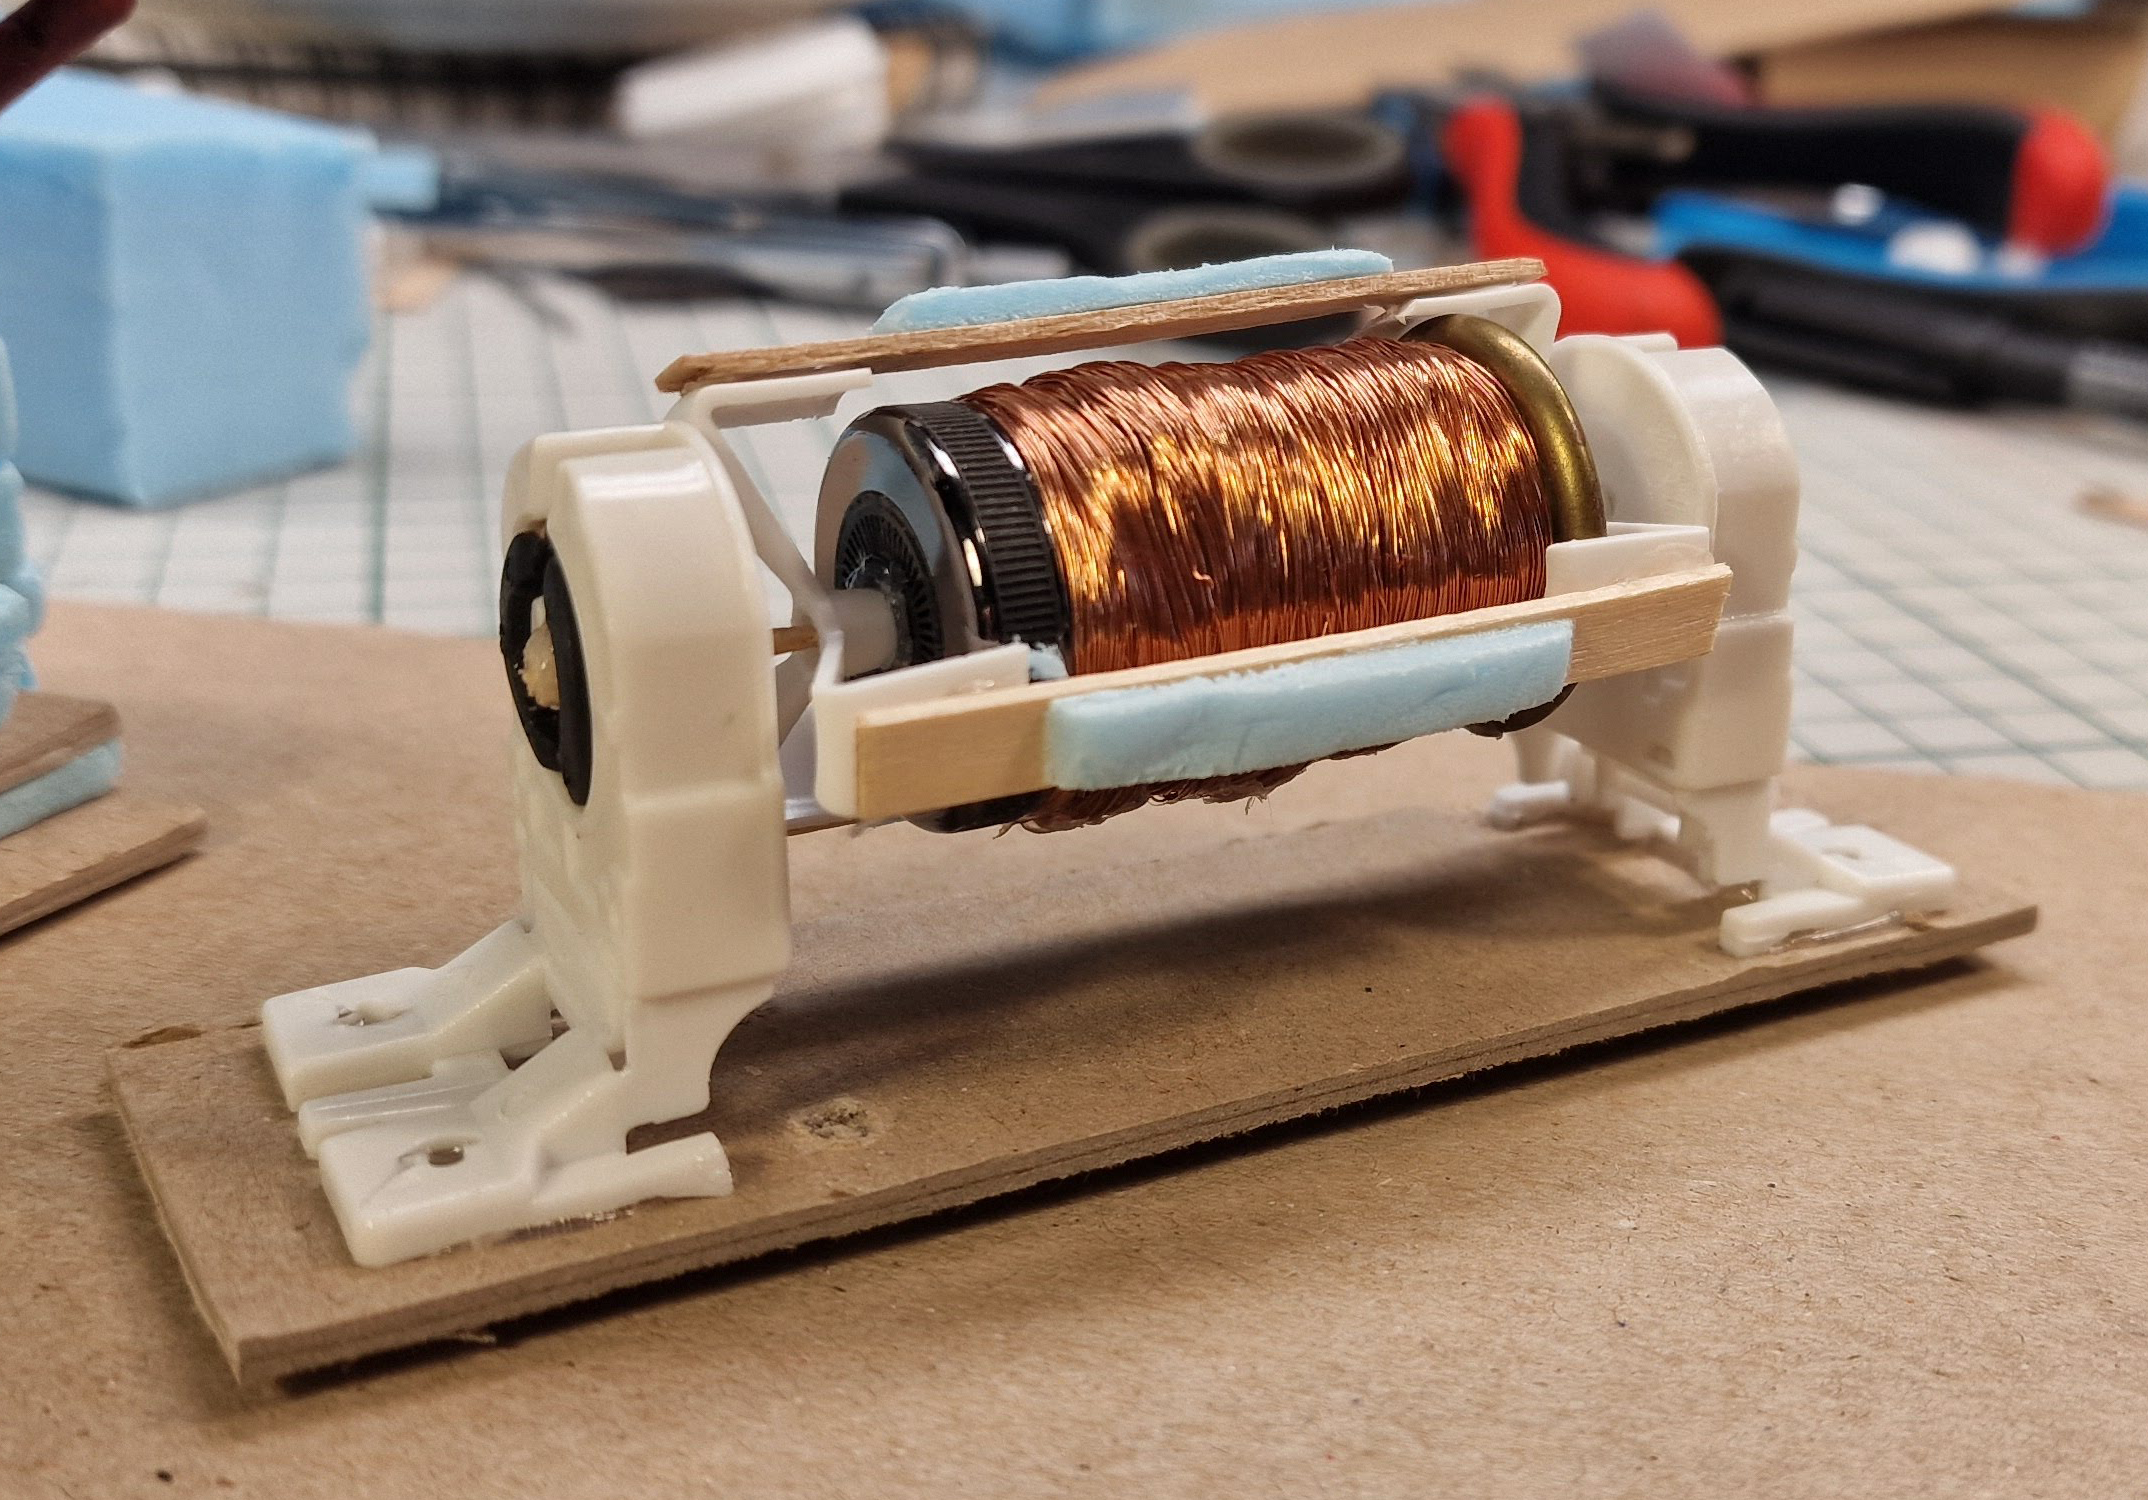
This power-spool-thingy was too big and clunky, and didn’t fit on the base. I’ll save it for another project.
Leave a Reply